You’ll usually see curbs in concrete shower tubs, mainly to act as a dam to prevent water from flowing all over the bathroom. And maybe you’ve seen this in the concrete shower pan of vintage bathrooms. Nowadays shower bases don’t require one.
It’s a neat little trick to trap water and keep the surface dry. But it’s also a bit tricky to make the curb, especially to tile it. But as always we’ve created a very easily understandable guide on accomplishing it.
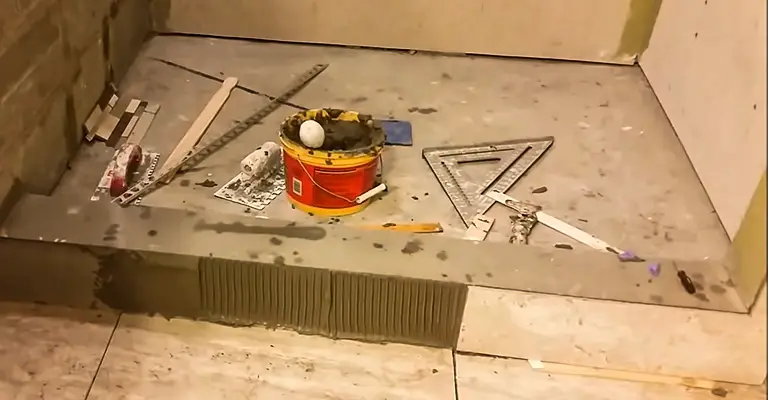
Table of Contents
Kill It in the Simplest Way
Even messing up with tiles isn’t your regular job, you can nail it. How? Just follow these steps! Some of these are very basic but there’s an implicit touch of experience that I’ve earned throughout my career. Let’s get started!
Step 1: Prepare a Solid Master Plan!

First things first. Proper planning for the work can save you hundreds of bucks and immense work-hour. Don’t just start putting tiles at random or such stuff. Let’s assume you’re a beginner. So, what’s there in your strategy book?
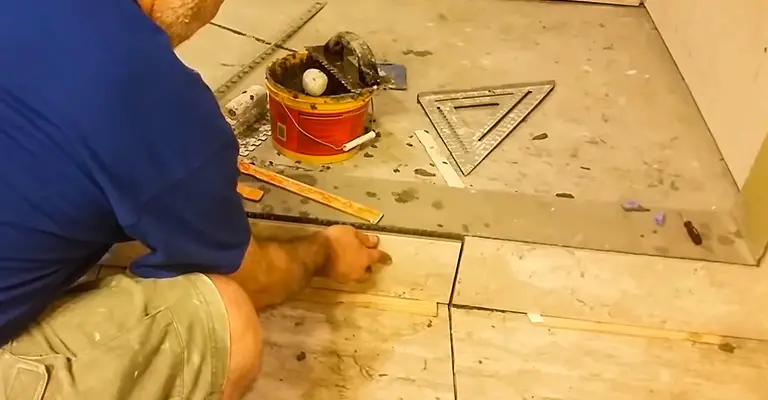
At first, survey the curb and the tiles you brought to position on that surface. It’s a good idea to leave less space towards the top. That’s why a typical 12×12-inch tile can be a good option. Use the measuring tape to measure the whole area and calculate how many blocks are needed to cover.
Pay attention to the corner when you’re planning. You need to measure the hole size for any glass panels or doors to be placed on the top before installing them. Ensure that the gap is properly distributed by considering the size of the bullnose tiles.
Step 2: Prepare the Surroundings
Once you’ve finished surveying, hop on to work. Probably, you’ve finished tiling the inner pan of the bathroom. But still, you have to do some cleaning to fit the tiles properly on the curb. Bring a brush and gently wipe the surface to remove any solid chunk of mud or so.
Step 3: Position the Base
After cleaning the surface, it’s time for the base to get ready. You have a cement base in front which is not that fortified to hold on to the tiles. In this case, chicken wire can be very useful. At first, measure how much of that chicken wire you need. First, wrap that wire on the curb.
As the inside portion of the shower pan contains floor tiles, it’s better to dump excess chicken wires at the outside portion. There’s a simple trick to get started. Position the chicken wire evenly on the surface leaving most of it outside of the bathroom. This helps you to fold the excess portion which will ultimately rest at the face plane (outer plane).
Step 4: Cut the Tiles
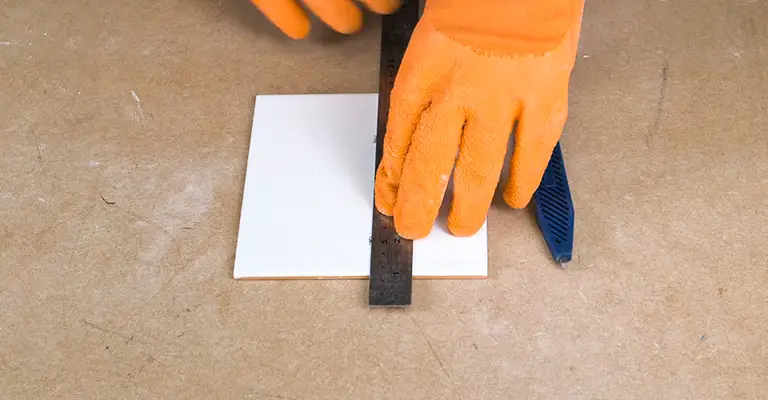
At the beginning of the planning stage, you measured the height and weight of each surface of the curb. Now it’s time to cut the tiles properly to ensure a smooth fit. For the outer plane cut tiles 2 x 1/8-inch shorter than the plane’s actual height.
Why you’ve to subtract twice? The answer is simple. Mortar or mud has to be fitted between the floor and the tiles, right? You’ve deducted this height to make space between floor and tiles for lower portion and spacing between two tiles at the upper position.
Repeat this step both for top positioned and inner tiles. But keep in mind that the inner portion generally 2-inch to 3-inch shorter than the outer to leave space for the pan. If there’s a door arrangement or glass panel, make a line according to their measurements. Don’t forget to leave at least ½-inch additional space in the panel line for mortar. These measurements will be crucial while building a concrete shower pan.
While you’re cutting tiles with the cutter, don’t ignore the thumb rule of safety. Always put on a goggle and gloves. Make sure to wipe the area and pour additional areas to mitigate the heat of cutting.
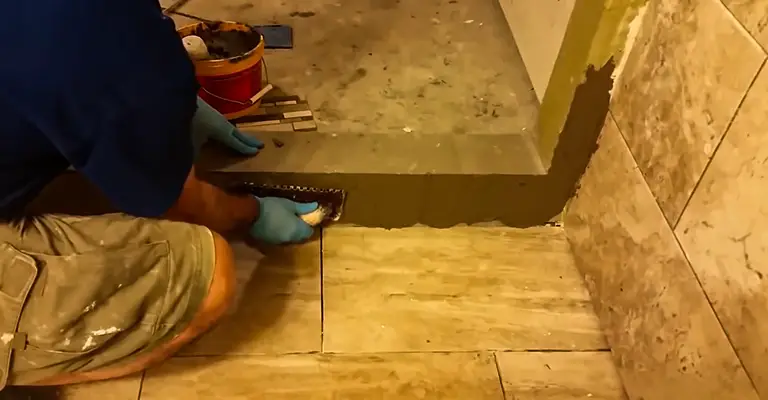
Step 5: Perfectly Position the Tiles
Now it’s time to place those tiles block into position. Always start with the outer portion and then the inner portion. Try to finish with the top portion. This technique will help you to reduce the chance of any side-slipping of tiles. Place spacers if needed.
Pick up a tile and apply mud at the rocky surface. Don’t just throw a single layer of mud onto the surface. It’s a bad idea because you’re increasing the fragility of the tiles by doing so. A tile may crack if mud is not placed properly or applied just at a single layer.
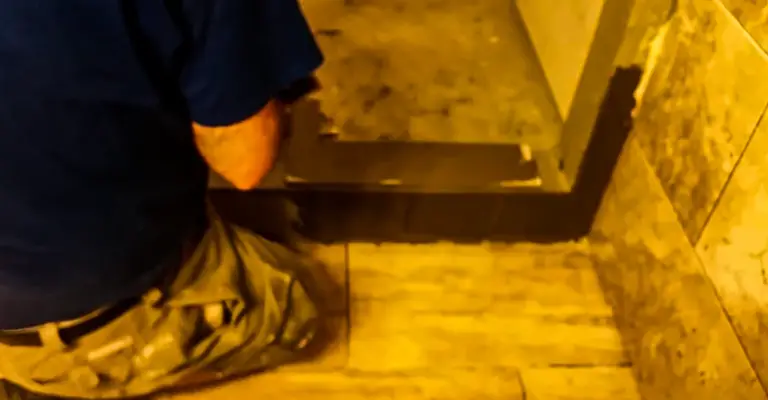
When you’re placing tiles at the top surface, start with the center position. Then proceed at the right or left corner respectively. Don’t just place a bullnose piece at a single corner but try to split the hollow between left and right. That’s how you achieve a pro-like finish, right?
Step 6: Take a Break!
Bravo, you pushed enough! It’s time for a break. Leave the setup overnight. This break will help the mud to get hardened by forming bonds between to separate surface. After 24-hours, come back and remove the spacers and wedges for further action.
Step 7: Grout and Clean

Just before we complete, for a perfect finish, at first, clean the entire surface. Then apply grout between the gaps and leave it untouched for about 30 minutes. Then wipe the surface with a wet cloth to put an end to this journey.
Tips for perfect installation
Get the details right
Before you begin installing the tiles, it is extremely important to confirm every small detail from the shape of the curb to glass panel installations. Once the curb is set and tiled, it will be dreadful to reverse the process if you find out that the configurations do not match. So, make sure that you find out the correct curb height for the threshold, especially if you are planning to place a glass panel on top of it. Too tall curbs can be more hindering than productive, whereas too short curbs might not hold back water. Your shower area and personal requirements will determine the low or high profile of the curb. Get answers to some crucial questions like: What height options do I have? Will it be a curved shower curb? Does it need a curved glass panel?
Choose DIY-friendly options
If you are doing this project by yourself as a beginner, consider using DIY-friendly materials to simplify your work. Most DIY installers prefer using pre-fabricated Schluter Kerdi shower curbs and kits. These materials and tools support easy installation, ensure waterproofing benefits, and come with straightforward instructions that anyone can follow. Schluter Kerdi systems are already waterproof and work best with Schluter mortar options if you want to preserve the brand’s warranty in the long run. So, make sure to use Schulter mortar and not other types of mortar if you think you might claim warranty benefits down the road.
Plan a neat layout
Tiling a shower curb is generally simple to achieve with the right set of tools and skills. You want to make sure that the final look is neat and flawless, and so the way you plan the layout will influence the end results. The best advice here is to use as many “full” tiles as you can to create a more professional layout based on the measurements you made earlier.
It is also the easiest way to speed up your work, prevent tile wastage, and add a geometric appeal to your shower curb. The installation does not have to be symmetric (and this might not even be possible in some cases). It just needs to look organized and carefully executed for a bit of aesthetics apart from good functionality. In comparison, a shower curb with mix-and-match tiles does not appear very neat, especially with full tiles on one end and tile strips on the other.
Ensure tile sloping
It is important to slightly angle the top tiles on the curb so that they slope into the shower area rather than sitting flat. The curb itself should be angled so that any water splashes drip back into the shower floor. Therefore, the tiles you install on top of it should also have a slight tilt for the same reason. The main purpose of a shower curb is to act as a shower threshold to keep the water from dripping outside onto the main bathroom floor. This small detail of angled tiling is simply worth it. You can use a level during this stage and layer mortar until a slight slope is achieved for the top tiles.
Use color-matching caulk
When you are adding the grout, leave out the perimeter joints so that you can apply color-matching caulk to them instead. Silicone caulk in the perimeter joints will add a layer of waterproofing to the curb edges. It creates a more finished look for your shower threshold and simply appears neater than grout. You can layer grout on the rest of the shower curb and caulk the perimeter joints for a professional-quality installation.
Consider curb-top finishes
Lastly, the top of the curb also has a huge role in aesthetics and quality finishing. Straight curbs usually look great with bullnose tiles on top and can even hold solid slabs like granite – which totally depends on your budget! Curved shower curbs will need some adjustments to tile the top for custom finishes. Kerdi Profile edges are also popular for creating a more clear-cut appearance. You can choose from a variety of curb-top finishes to make your shower space stand out and even match your bathroom décor.
Final Words
Congratulations! If you followed those steps properly, definitely, you’ve nailed it. Of course, there’re corrective steps for each action. Like, you can size a wrongly cut over-sized tile by cracking the corner or fill up the gap between to under-sized tile by placing additional grout. Step up, find out your cheats. That’s the pleasure of a tough task, isn’t it?