Showers are a place in your household where the involvement of water is significantly more. While water is irreplaceable in a shower, wet surfaces and stuff in your bathroom will generate bad odors. Not only that, but the mildew will also start growing if you don’t dry those surfaces soon. That’s why it’s a must that you always dry your shower.
While the notion of drying your shower or bathroom may seem easy, it is, in fact, a tricky job. Because there are lots of parts in your bathroom which you can easily overlook when you are looking for wet surfaces or things. So this guide here will tell you all 8 such tips along with some additional tricks that are proven to be effective in drying a shower.
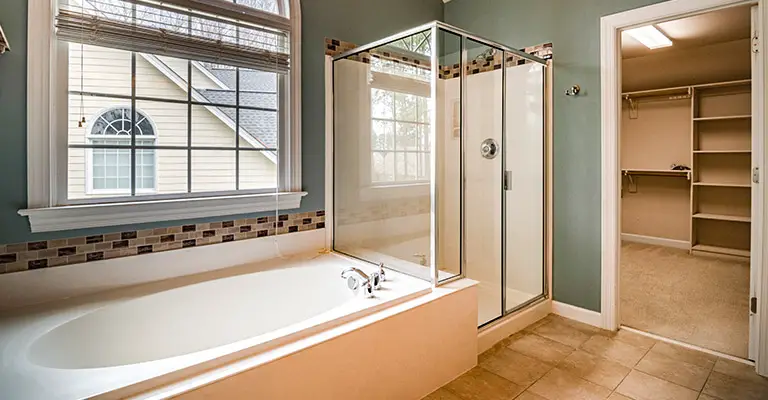
Why Do You Need to Dry Your Shower?
As hinted earlier, wet showers give out bad smells. These are often the disgusting damp smell of water. Even if you manage to tolerate this unpleasant scent, it will certainly create a bad impression on any visitor or guest. Because the last thing anyone would want after a hard day at work is a place to cool down with a bad smell in the air.
Another reason why you might want to dry your shower is that wet surfaces generate moss. These green plants mostly grow in the corners of the shower or around the buckets. And as a result, these mosses will leave off tough stains on the floor or the surface they are on.
Those who get inside their shower barefoot and forget washing their feet, having dirty feet, and a wet floor will result in a dirty floor both inside and outside the shower. Also, the floor will be slippery because of the presence of water. Wearing slippers or shower shoes won’t be of any help. That’s why it is best to keep the floor dry.
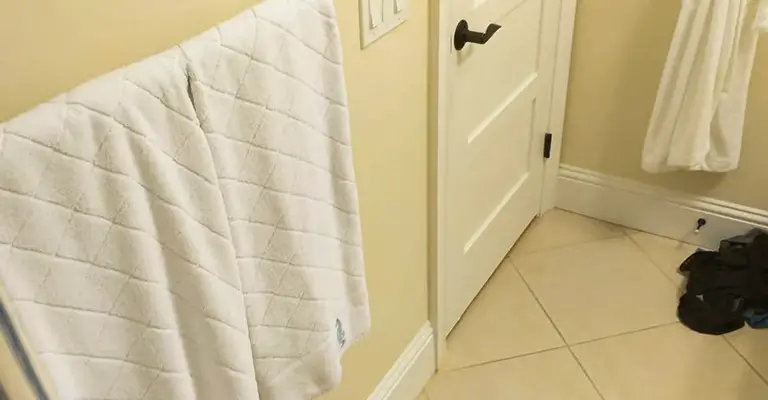
Tips for Drying Shower
The tips and tricks we will provide below covers everything from the actual drying element to some relevant adjustments and steps that you can follow to boost the drying process. These are all beginner-friendly tips, nothing fancy but it gets the job done wonderfully. So just follow along and you’ll have a dry bathroom in no time.

Tip 1 – Get Adequate Lighting
First, mount a light on the ceiling of your bathroom. This will illuminate your bathroom evenly that will help you see around all the corners nicely. When you want to remove moisture from the tough and tricky corners of your shower, you need to properly see where you will be working. Side-mounted lights can’t simply light up the place evenly.
Secondly, put some lights up above the sink. This will create an effect of vanity lights and aid you while cleaning your hair or brushing your teeth. So if you see any water near the sink area or in the mirror, you can wipe it off using a towel. These will make sure there are no water stains on the mirror or even the water tap.
These are not the only set of lights you need to install to get adequate luminosity in the bathroom. Depending on the stuff that you have in your shower, you may want to add side lightings too. Even if these sounds a bit overkill, these lights are what will truly help you identify moisture, mildew, water droplets in tight places.

Tip 2 – Ensure Proper Ventilation
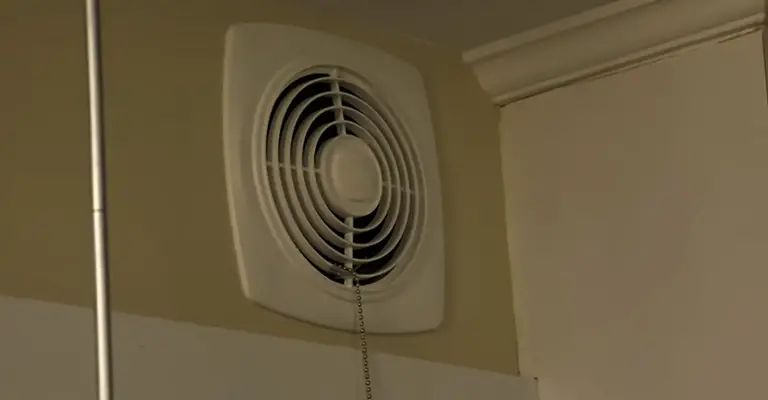
The best and the most efficient way of ensuring a good ventilation system in the shower would be to use a bathroom fan. If your shower is located directly underneath the roof and there aren’t any rooms above it, installing the bathroom fan on the ceiling would give you the best results. Note that it’s really easy to vent the fan through soffit.
Bathroom exhaust fans take away all the moisture and vapor from the shower when you use the shower for either taking a bath or for other purposes. So if you don’t let moisture accumulate in your shower, you don’t have to clean it later. Even if you had to, it would be significantly less work compared to having no bathroom fans.
If your shower is located somewhere where it’s not possible to access the ceiling, then you can also install a bathroom fan near any window. But make sure that you get a fan which can cover your shower. Check for the fan speed and tell the retailer your shower size so that he can give you the correct one.
However, many people simply can’t afford a bathroom fan. For them, removing moisture and vapor from the shower is taken care of windows and other airflow openings. But as you might have guessed, they are not as efficient as a shower fan. So they need to take care of that moisture afterward.
Tip 3 – Use the Correct Cleaning Products
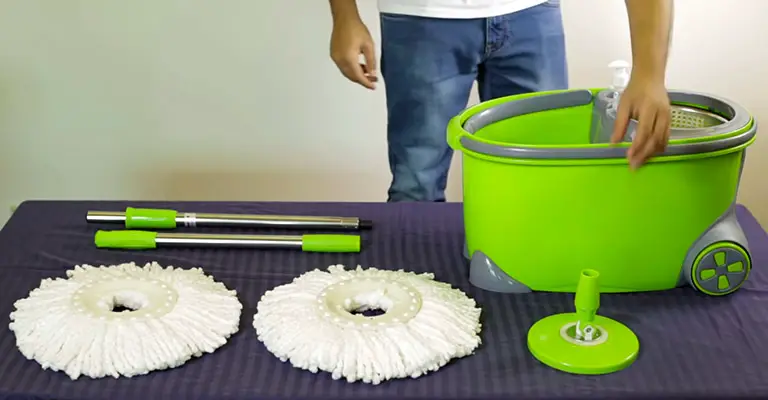
Using a mop that can soak a large amount of water during wipes is an example of how you can make smart decisions in purchasing cleaning products for your shower, that will also help you keep it dry. On the topic of mops, also make sure that it doesn’t hold excess water and can be squeezed easily.
You can buy a steam mop too if you feel like you need to get rid of tough stains and truly get rid of the germs. The reason we are stressing on cleaning in a drying guide is that the cleaner a surface is, the less effort it takes to wipe off water from the surface. A dirty surface will just spread the dirt and filth all over when you’ll wipe.
Use different tools for cleaning. Scrubber, toilet brushes, hand rubs, etc. can be used where mops or steam mops won’t be effective. We recommend using products from a good and trusted brand instead of any local and cheap alternative. After all, it’s your house and not someone else’s.
Tip 4 – Consistent Cleaning and Drying Habit
After having a good ventilation system and a good set of tools, the best tip to dry a shower is to dry it after every use. For example, keep towels or rags ready to wipe the basin sink. Then, after every use, quickly wipe the water off of the body of the sink. If you do this once when you’re getting out in the morning, you won’t see a wet sink returning home later.
Even if you don’t do that, take some time to wipe up any spills inside your shower. Don’t leave the damp floors as they are. Instead, mop it regularly to eliminate any chance of mildew or moss buildup. If required, focus on the cleaning first and then start keeping it dry.
If there are damp smells in your shower then basic cleaning won’t help. Uproot the cause of the smell and then practice the regular cleaning and drying method. Adopting a cleaning practice will greatly help you achieve and maintain a refreshing and hygienic-sanitary environment.
Tip 5 – Take Special Care on the Floor
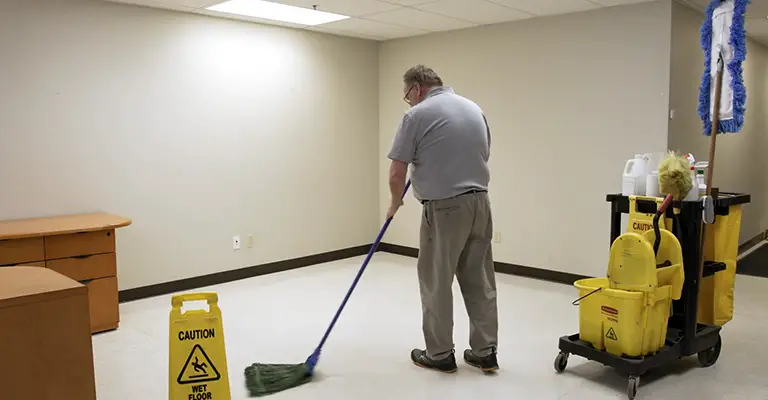
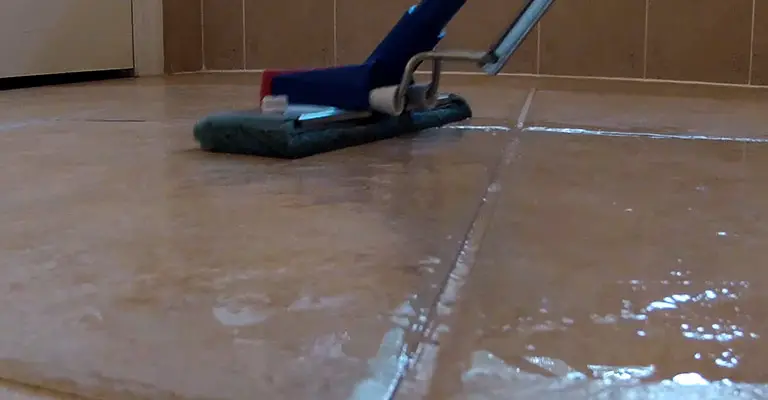
Use a mop, a spin mop to be exact, for cleaning the bathroom floor without leaving too much water on every wipe. Spin mops will give you a better performance in terms of keeping the water leakage minimum. If you can keep your floor dry, it will aid in keeping the other places of your shower dry too.
Because of entering a wet shower, everybody will stand on the floor at first. If they move into the shower where there are dry floors, they will still make it wet because their feet will be already wet. So, we highly encourage you to keep the floor dry all the time. If required, wipe it every day as a part of your consistent cleaning habit.
Apart from the floor itself, make sure you dry the floor mats inside the shower too. Wet and damp floor mats are a vital source of damp smells and germs. Also, a dirty and wet floor mat is unhygienic and guests will have a bad impression too. Keeping the floor and the bathroom mats clean and dry will do half the work of drying your shower too.
Tip 6 – Don’t Forget the Mirrors and Glasses
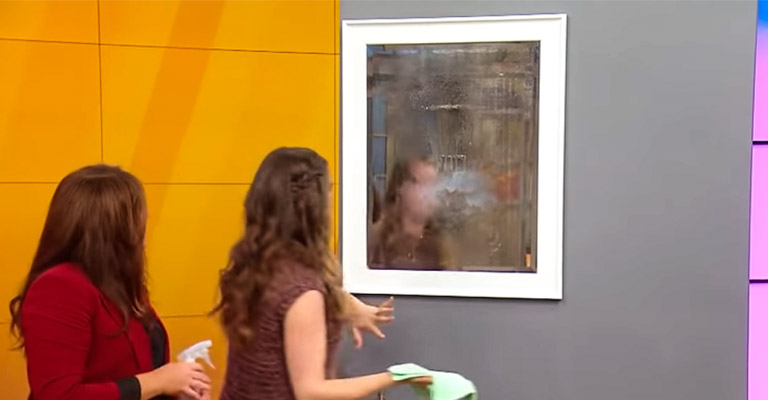
After the floors and the sinks, another spot to take off is the mirrors and the glasses. As we mentioned earlier, it is best to keep mirrors clean by wiping them right after every use. Although it may prove to be a little too much for some people, it is the best approach for keeping the mirrors dry and keeping them stain free. Fogless mirrors for showers may lessen your efforts in this regard.
The same goes for glasses too. Many people have glass doors or sliders near the bathtub or the bathing area. Moisture and water drops accumulate heavily on them. So it is best to wipe the glass once or twice a day to keep those moistures away and have dry glasses.
But if you are unlucky enough to have tough stains on your glasses and mirrors, we recommend using a high-quality glass cleaner of your choice to clean the glasses first. Then you can perform that regular wiping and drying thing so that you don’t have to deal with the tough stains later on.
Tip 7 – The BathTub
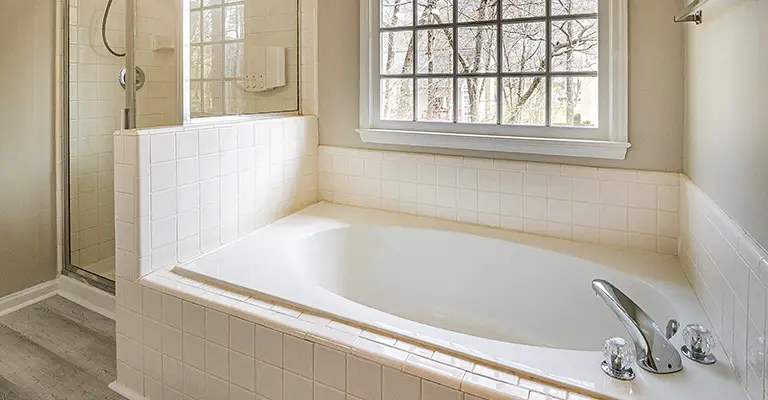
After the bathing water goes away, wipe off the water drops by a towel or rag. Bathing tubs are a very common element of a shower nowadays. If your bathtub is exposed to direct sunlight, you don’t need to wipe it now and then. But make sure that the bathtub is dried completely by the sunlight.
Tip 8 – External Fans
If you have an extremely bad drying environment like inadequate sunlight, bad ventilation system, etc. then you should use a standing fan to dry the inside of the shower. It won’t be as good as the other alternatives but if you are scarce on options then this could be a solution.
Summing it Up
All of the tips that we mentioned can be used alone or in combination with the other tips. It heavily depends on the setting of your shower, how big your shower is, and how well the ventilation is. Having sunlight inside the shower is a plus point but not all showers have that feature nowadays.
Nevertheless, we recommend everybody to focus on the fourth tip of maintaining consistency in cleaning and drying the shower. Because if you leave the drying and cleaning part unattended, it is bound to get messy the next time you start cleaning and drying the whole shower.