When you’re having issues with the bathroom fan, you’ll face a problem in the nearby rooms due to the smell. Exhaust fans in the bathroom sometimes emit extra moisture which results in mold, pile, and tarnish. Also, the walls get a little too moist and there are droplets of condensates on the mirror after a shower.
There might be problems that are not sourced from any sort of damage to the fan. You might feel the need to change it because it was just too small for your bathroom. and that’s indicated when it fails to remove moisture and most importantly the smell.
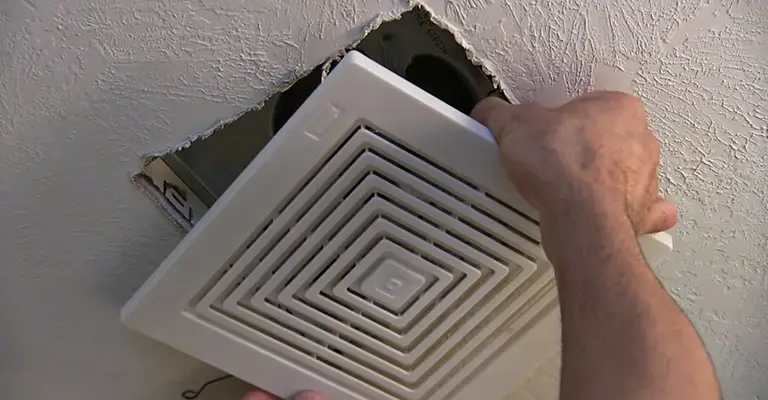
Table of Contents
Troubleshooting Your Bathroom Fan
Troubleshooting bathroom fans offers different tasks like tissue tests, plastic bag tests, and so on. Well, these primary tests require several measures to solve your problem at home.
Tissue Test
On a tissue test, hold the tissue over the grille while the fan is on. If the fan doesn’t grasp it, there must be a blockage in the duct. If this is your case, remove the grille and clear the clog with soft bristles like that of scrub or brush.
Plastic Bag Test
In the case of a plastic bag test, keep the plastic bag over the vent hood. If the plastic bag doesn’t fill with air, there is surely a problem in the fan. The exhaust duct could be disconnected or otherwise, the exhaust vent could be jammed.
Others Troubleshooting
It can be a recirculating fan if there are filters that only remove odors instead of moisture. For better venting, you can install a timer in the place of an on-off switch to perform it automatically. You can do the voltage test at the wall switch to check the power supply of the motor.
How to Change the Bathroom Fan?
Let’s dive into the crux of the article. Since you’re penchant to the odourlessness of the bathroom. You should be going through this quite cautiously given the current pandemic.
Repairing Bathroom Fan
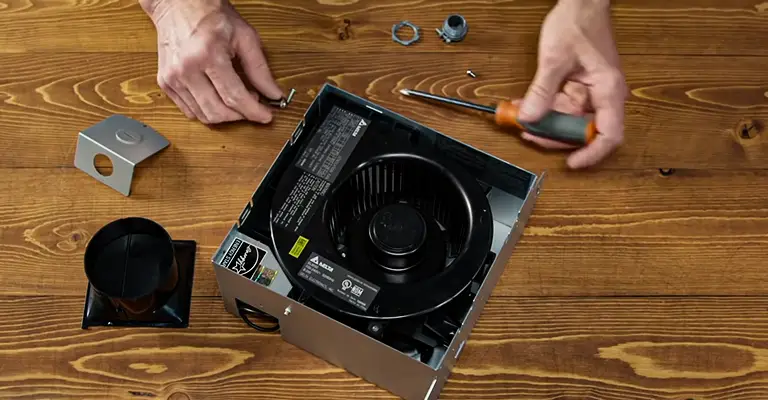
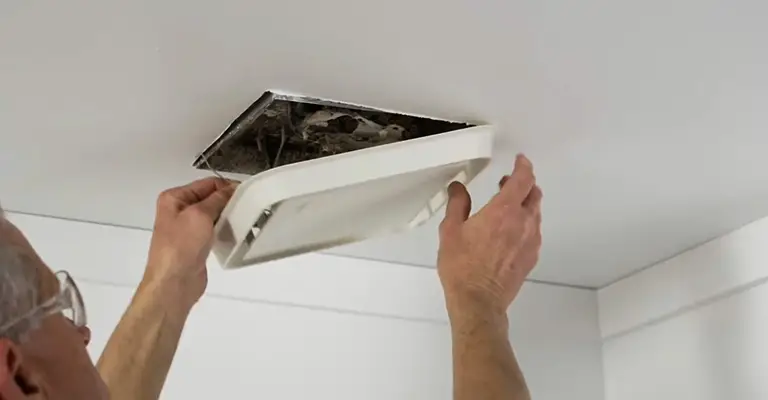
You can remove bathroom fan housing by mounting and then installing. For this, you will need a screwdriver, drill, HVAC tap, safety goggles, dusk mask, hand gloves, drywall saw, duct adapter, drop cloth, circuit tester, drywall knife, and wire connectors.
If you are looking for a new fan, choose the one having a low “sone” number (2 or less) and a high CFM (cubic feet per minute) number. If you want a large one, choose the stronger fan which spins faster. You can drop cloth on your bathroom floor to get rid of dirt and rubbish which will rain down while removing the fan.
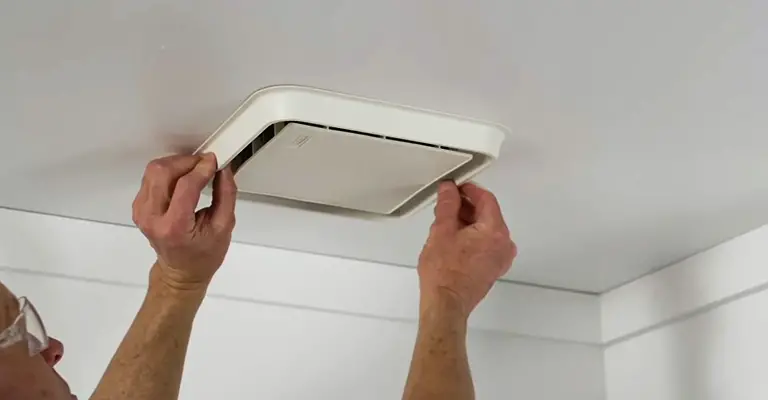
First of all, disconnect the power. Then, pull down the cover gently and move the screw that holds the adapter plates for housing. Unscrew the housing; disconnect the ducting and wearing vent pipe. Now, clear the clog or dust with water properly.
Replacing Bathroom Fan
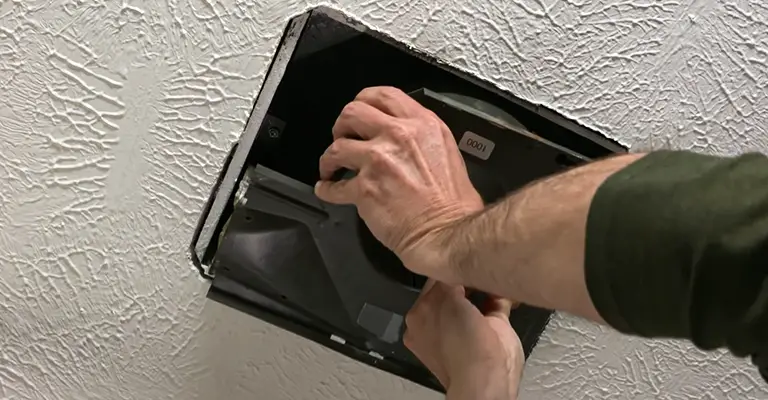
If you are having a fan of another size, cut the new size on the drywall to adjust the fan. If the fan is to be vented through soffit, do the same on the roof-top. Then, secure the adapter plate to the housing and plug it into the motor. Connect the same color wire and connect the ground to the ground properly. After this, cover the junction box.
Sometimes, there arises an airflow problem because of the duct size. 6-inch duct ensures great airflow. So, if you have a 4-inch duct, you can upgrade this. Slide the vent pipe over the circular duct connector. You can tap the vapor area with an HVAC tap to prevent moisture lick.
If you need to adjust the ceiling hole or if you have extra space, patch the ceiling drywall. You can surround a piece of plywood across ceiling joists to have a surface for working, if necessary.
Now, plug on the switch and test if it sounds well and working properly. You must make sure that the installation has done properly. Otherwise, you must contact an electrician.
How to Replace Fan Light Combo
While replacing or installing a new fan light combo, you can use either the separate switch or 6-inch clamp and a screwdriver. First, you have to turn off the circuit breaker and use a wire tester. Now, take out the old combo, also pull the lens and mounting screw and unplug the junction box.
Clean the housing if necessary and mark wires, secure ceiling joist old lamp to a new one. After that, snap the clamp connector into place. Use the screw to fill the gap. You can also use fire retardant foam or stuff. Now screw-in the bulb and lock on the lens. Finally, turn the breaker on.
Add Light to an Existing Fan
You can do this if you have two cables in the switch box. Otherwise, if you have one cable, you can connect it through the wall switch light wire to the light of the fan (same color wire together and ground to ground).
If the Light Not Working
Check the incoming power problem. If that’s not the culprit, determine if the switch or socket is defective. If all are okay then the light may be burned out. Change it according to the needs.
Bathroom Fan Not Working but Light is
This mostly appears if the fan is dusty. Or else, the fan motor might have burnt or suction is inefficient. So, clean the fan using a brush and replace the motor. If these aren’t any of the causes, do the voltage test. This is often detectable since that dims the light too.
How to Replace Bathroom Fan Motor
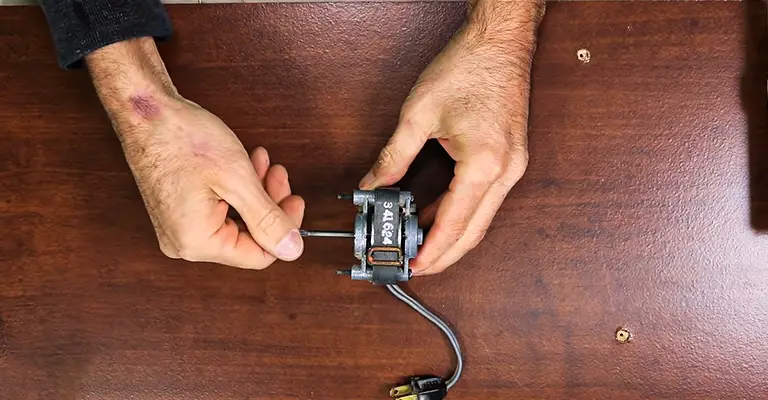
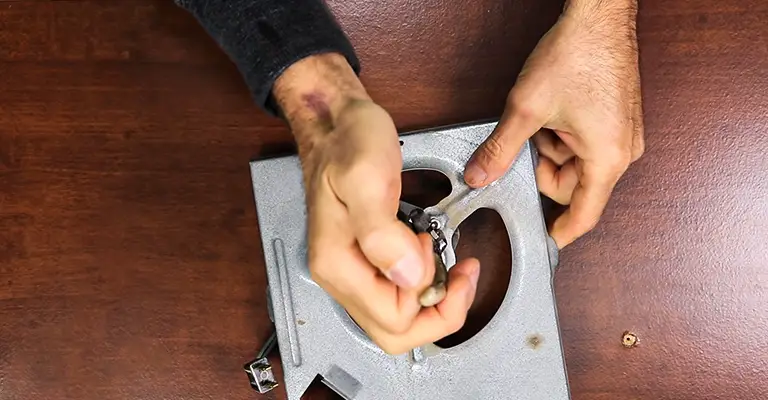
When there is a problem in the fan motor, you have to open up the fan housing and find out the model. Disconnect all kinds of electrical sources before working. Then, you need to remove the blower from the motor dart. Finally, renovate the new fan motor reversing the same procedure.
Frequently Asked Questions
Q: Will there be a problem if we don’t use a separate switch for the fan light combo?
Ans: No, it won’t. You can use it separately if you want to control it separately.
Q: Will this fan work with the main light and fan on it?
Ans: No, it must have a separate switch.
Conclusion
If you’ve been with us up until now, you’re accustomed to the common problems from bathroom fans. Now you can dare to do some tinkering of the fan all by yourself. Give yourself a chance, it’s not much of a frangible object.
But nevertheless, there’s always a chance that you might just be unlucky enough to have a problem of a totally different sort. And might have a model that’s very much different from what we’re talking about.