The bathroom exhaust fan is an inevitable part of our bathroom. It is considered so important that in many areas it is obliged to install a bathroom exhaust fan by introducing the law.
To keep the interior environment of your bathroom in the hygienic and healthy condition you will hardly find any better option than a bathroom exhaust fan. You know what, whenever we install anything or bring anything in our home it needs some maintenance, it needs some care to be taken off to increase its durability and service quality.
So, your bathroom exhaust fan also needs some care, I mean maintenance work and cleaning is one of the most important maintenance work that you must do at least once or maximum twice a year. The frequency would vary, though, if the fan is vented through soffit.
To clean the bathroom, you have to open the fan, and then after cleaning, you have to reinstall it. It will take you 30 minutes or less if you get a fast hand to it.
Here I am going to describe the total process step by step so that you can understand it clearly and do the work by yourself.
Table of Contents
How to Clean Bathroom Exhaust Fan – 11 Simple and Easy Steps
Step 1: Turn off the Power
Before you start the bathroom fan cleaning process, do not forget to turn off the switch or circuit breaker to prevent any unwanted accidents.
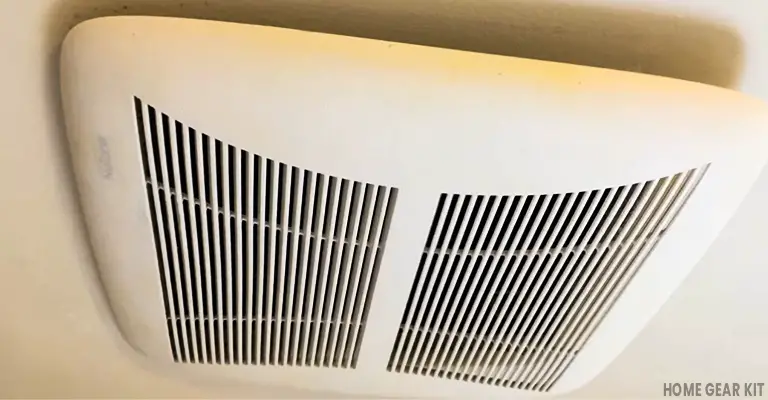
Step 2: Remove the Outer Cover of the Exhaust Fan
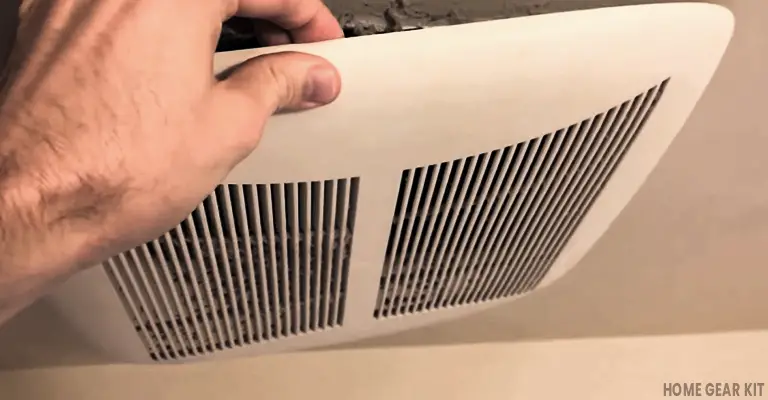
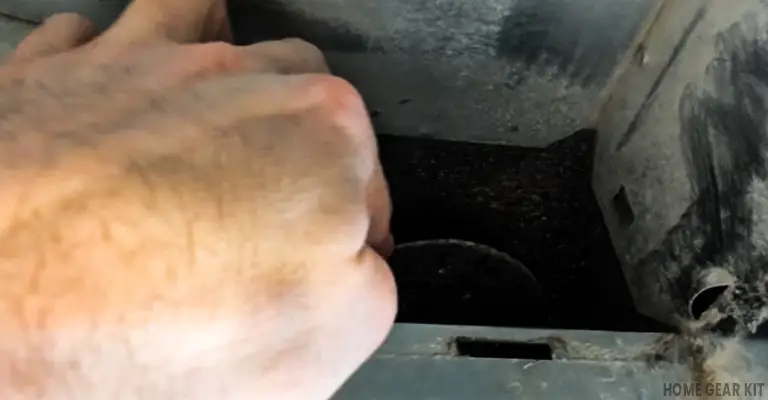
The process will start by removing the outer cover of the exhaust fan. Looking at the outer cover you may become confused about how to remove the outer cover since there is no handle holding which you will try to remove the cover.
Well, do not worry. Though there is no handle on the outer cover of the exhaust fan it is very easy to remove the cover.
With one hand on the left side and one hand on the right side of the cover try to maneuver the cover and it will be loosened. You will find a pair of spring-loaded wire clips, each on the two sides of the cover. Press those wire clips together and the cover will easily be removed. Related article: How to change a bathroom fan.
Step 3: Clean the Outer Cover
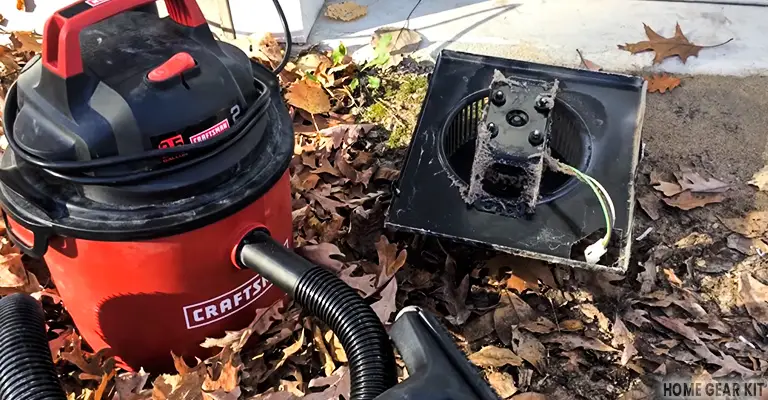
You can use a brush to remove the soot from the cover. You can also remove the soot using a vacuum cleaner.
You need a cleaning solvent to complete the cleaning process. Spray the cleaning solvent over the cover and using a toothbrush rub it gently.
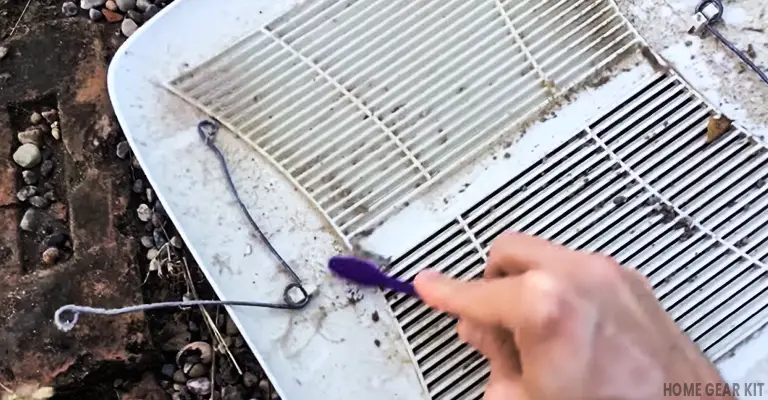
Finally, clean the cover thoroughly by spraying fresh water of normal temperature and let the cover dry in air.
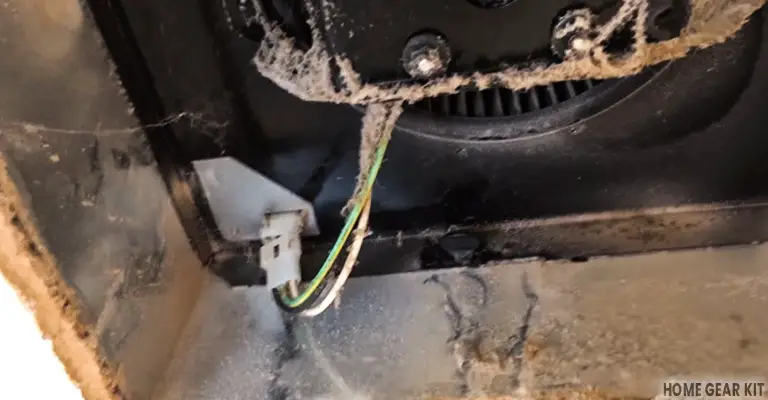
Step 4: Unplug the Electrical Connection Point
At first, unplug the electrical connection point as shown in the following picture.
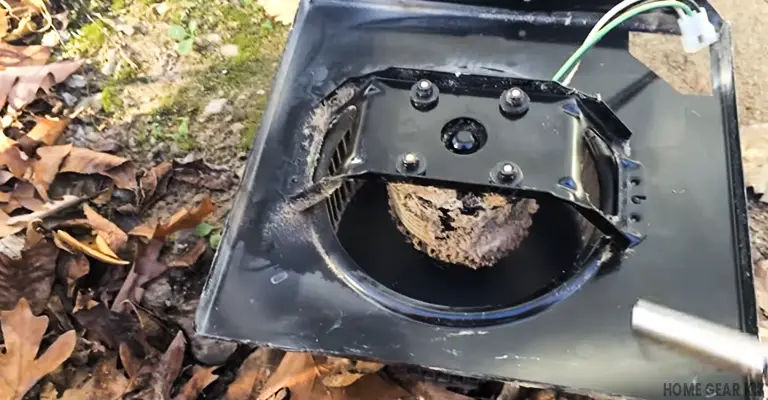
Step 5: Disassemble the Rest Unit
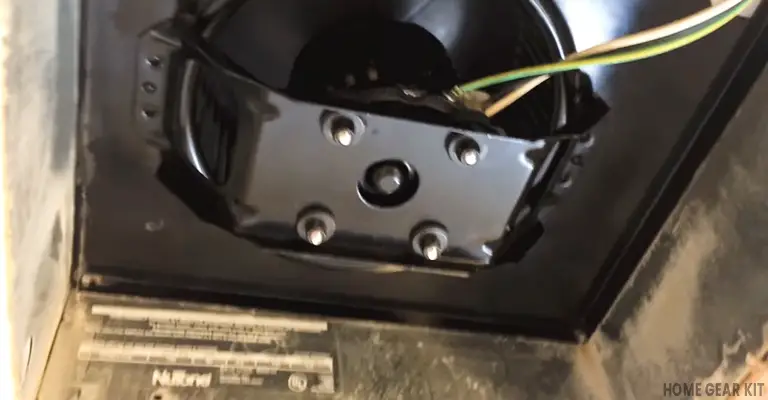
Notice that there are several nuts and/or screws securing the assembly of the fan and motor. The position of the nuts and/or screws varies from model to model or brand to brand.
You have to loosen the nuts to disassemble the fan and motor unit and after loosening the nuts and screws pull the assembly down as shown in the picture.

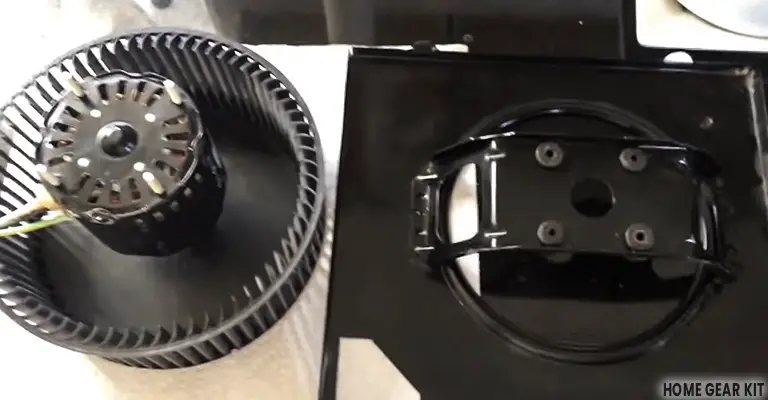
After that, separate the upper plate from the fan and motor assembly by loosening the screws so that you can perform the cleaning easily.
Step 6: Clean the Motor and the Fan
Use a vacuum cleaner to clean the grime from the assembly. You can also use an unused toothbrush to clean the grime manually from the motor and the blade of the exhaust fan.
Step 7: Attach the Upper Plate of the fan and Motor Assembly
The cleaning is done and now it is time to reassemble the whole unit. But, before that make sure everything is completely in dry condition.
Then attach the upper plate of the fan and motor assembly by tightening the screws that you have to loosen a few minutes ago.
Step 8: Clean the installation Place
Sometimes people ignore cleaning the installation place of the exhausted fan. If you notice at that place you will see that there are some dust which will make your cleaned fan dirty again as soon as you install the fan.
So clean that installation place thoroughly using a dry cloth or vacuum cleaner. If you use water or anything liquid to clean this place wait until it becomes dry before installing the fan.
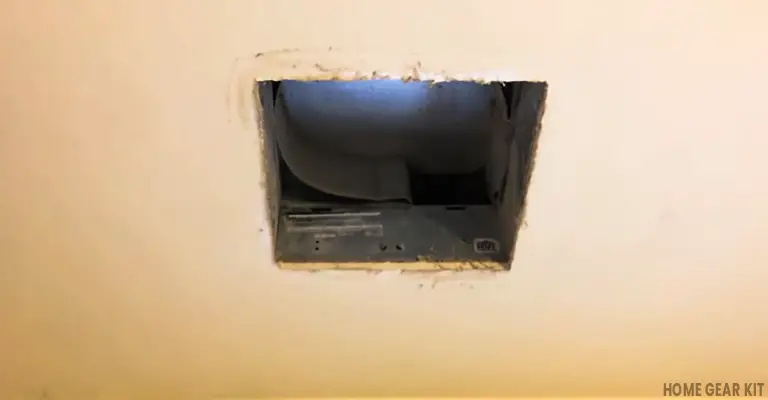
Step 9: Make Sure Free Movement of the Little Plate
Inside the whole, you will notice a plate that can move and behind the plate, there is a duct. When you switch on your exhaust fan the fan begins to run and the inner air is exhaled through the duct.
You have to make it sure that the little plate is not jammed or it is difficult to move rather it is moving freely.
Step 10: Push the Fan Assembly on the Installation Housing
You will notice two little tabs in the installation housing. Slowly push the assembly up to the installation housing place and attach the flips and connect the electrical point.
Step 11: Attach the Outer Cover
Now it is time to attach the outer cover of the fan. Pinch the spring loaded clips together and attach it to the assembly. You will find the cover is in loose condition. Apply pressure to attach it firmly to cover the whole assembly.
To understand the total process clearly, you can watch the following video where each step is described clearly.
Caution
- Since there is so much dust and soot and you have to look upward during loosening the cover or the fan your eyes may get hurt. So, do not forget to wear safety glasses.
- The dust may cause a problem during breathing. So also wear a mask during performing cleaning tasks. You can also wear a helmet that will protect your total face.
- Do not clean the filthy exhaust fan in your sink since the dirt may cause clogging. It is better to do the cleaning work taking the fan and its cover outside as shown in the video.
- Do rub the cover of the fan so hard that a spot of rubbing is created on it.
- Never use water to clean the fan and motor assembly rather clean keeping it in dry condition. Since power goes through it, the assembly may get damaged or accidents may occur during operating the fan.
Tips for the best cleaning results
In general, the tools you will need to clean a bathroom exhaust fan include a vacuum cleaner with the required attachments, a sponge, a cleaning brush/cloth, a toothbrush, a screwdriver, some cleaning solvent, a spray hose, and a bucket of soapy water for soaking.
Vacuuming
The main benefit of using a vacuum cleaner for this job is that you get to finish a lot of surface cleaning as well as deep cleaning in just a few seconds. You can always use the crevice attachment or the brush attachment to reach every nook and cranny within the housing and the cover, especially if you do not need to remove the whole motor for extensive cleaning. Another benefit of a vacuum cleaner is that it will catch almost all of the dust and debris, leaving your floor space clean and reducing the after-cleaning you might need to do. Quite often, the dust buildup can be stubborn to remove with a simple brush or cloth. So, a vacuum cleaner is useful in loosening up most of the piled-up dust and speeding up your work.
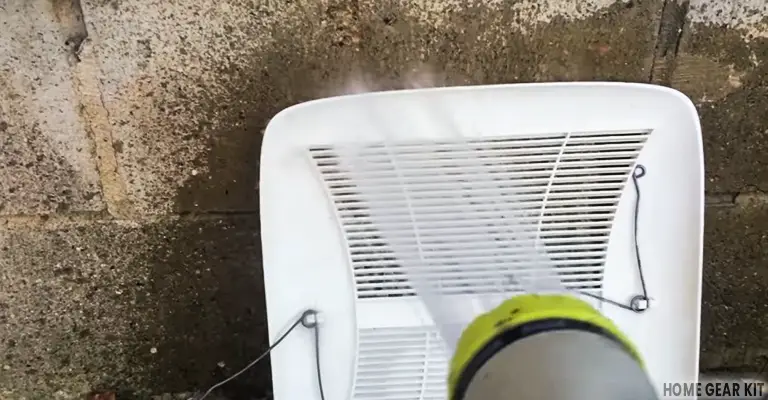
Soaking
For tough-to-remove dirt and grime, you can also soak the cover in a bucket of warm soapy water and let it sit there for some time. Soaking the cover in this way will quickly dissolve most of the grime and help you brush it down easily. You can use a toothbrush to clean the grille, spray it for final rinsing, and wipe the surface with a cloth once everything is neat and clean.
Removing LED
If you have a bathroom exhaust fan with built-in LED lights like those from Broan-NuTone, you will need extra care while removing the cover and unit. Follow the instructions for your specific exhaust fan light model to avoid damaging the parts or reinstalling the unit incorrectly.
In some cases, you might have to unplug the LED light component before detaching the grille, so this entirely depends on the type of fan-light cover you have installed. You can also read our article on “How to Remove NuTone Bathroom Fan Light Cover?” for some more information.
Duct cleaning
Another important tip for cleaning your bathroom exhaust fan is to tackle the duct blockages, especially if there is a heavy buildup and you can tell that your fan is not as efficient as before. Exhaust fan vents can be blocked by bird nests, insects, and simply other debris swept in by the wind. It is best to buy a bathroom exhaust fan that comes with outer flaps to limit all these problems. Vent screens are useful for keeping the whole duct passage free from bird nests and any possible debris. If you notice heavily blocked airflows, you might need to call a professional duct cleaning service to handle the issue. These professionals use duct hoses to clean the interior thoroughly and free up space for air to flow through smoothly. Airflow blockages in ducts should not be ignored, as no matter you well you clean the rest of the unit, a blocked vent will still restrict the flow of exhausted air. You can keep such heavy-duty duct cleaning for your exhaust fan’s seasonal or annual maintenance schedule.
Follow-up cleaning
Lastly, while you can reserve the duct for seasonal cleaning, make sure to keep vacuuming the exhaust fan cover every now and then once you have cleaned the unit thoroughly. This makes a simple follow-up cleaning step to keep your fan functional and efficient. It is also the easiest way to prevent dust buildup by vacuuming any visible dust as soon as possible.
Conclusion
During venting air through the bathroom exhaust fan dust builds up on the outer cover, motor and the blade of the fan.
An average-sized bathroom exhaust fan generally exhausts over 2,000,000 cubic feet of air per year if you operate it only an hour every day. I hope you have understood the cleaning rate recommended is very less compared to its working capability.
So never ignore cleaning the exhaust fan of your bathroom. A cleaned exhaust fan will help to maintain a healthy bathroom environment but a filthy exhaust fan will do the reverse. It will make the interior air polluted and consequently cause many health issues of the users.
Procrastination to clean the exhaust fan of your bathroom is nothing but a suicidal decision. So, take this work with the utmost importance.
Related Resources: Essential Bathroom Repair kit