Making a thermal curtain at home is easier than you think. The procedure is very simple and can be conducted by anyone. The purpose of the thermal curtain is to provide proper insulation to the room you hang them. This means during winter it will keep your room warmer than outside and in the summer cooler.
Let’s look into the procedure.
Table of Contents
How to Make DIY Thermal Curtains at Home
Step1:
Prepare the inner liner at first. Lay the inter liner straight above the fabric. Make sure the position is perfect. After that, stitch them together.
Step2:
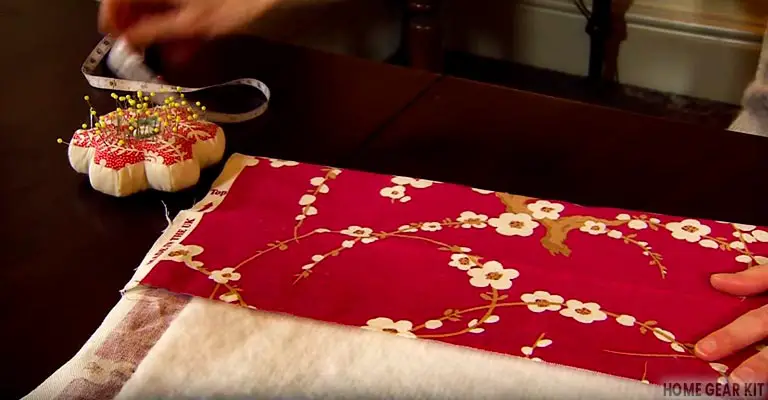
First of all measure the width and length of the window. If you want the curtain to fall down to the floor; note down your desired measurement of the length. Do not take the exact measurement of the window. Count from the point you will hang the curtain.
Step3:
Now that you have successfully taken the measurements; the measuring tape and a pencil draw the points in the fabric. You will have to draw the points more lengthy than you took the measurement of the windows. It is because you will have to sew the fabric which needs additional space.
Step4:
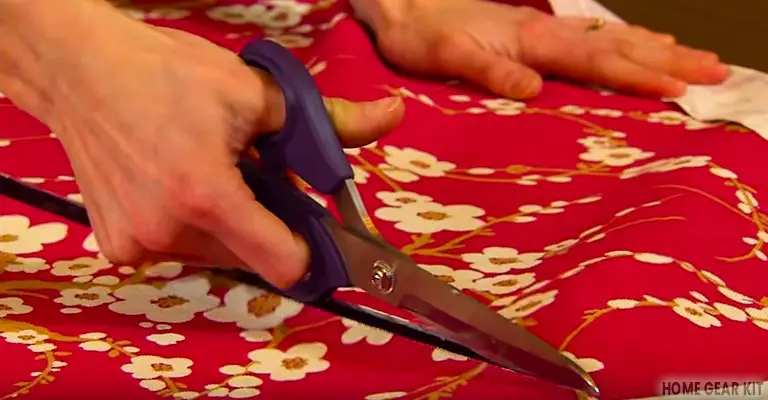
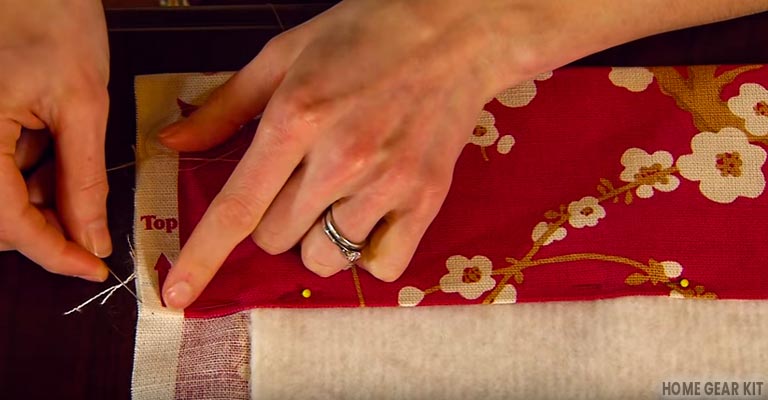
Now fold the three edges (two lengths and one width) of the fabric and sew them in a straight line. You can use a machine if you want.
Step5:
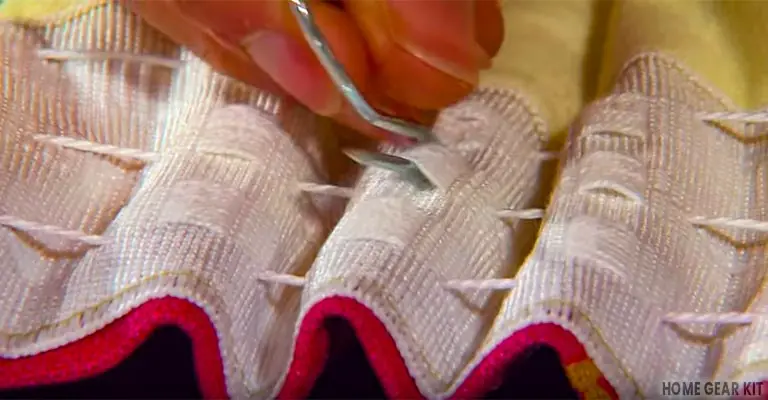
Now you will be making loops on the top edge. If you want, you can attach grommets also.
- For loops, cut small strips of fabric according to your desired length. Now, make a loop like a shape and attach (sew) them to the upper edge of the curtain.
- If you want grommets then cut round holes. After that place grommet in-between the holes by hammering.
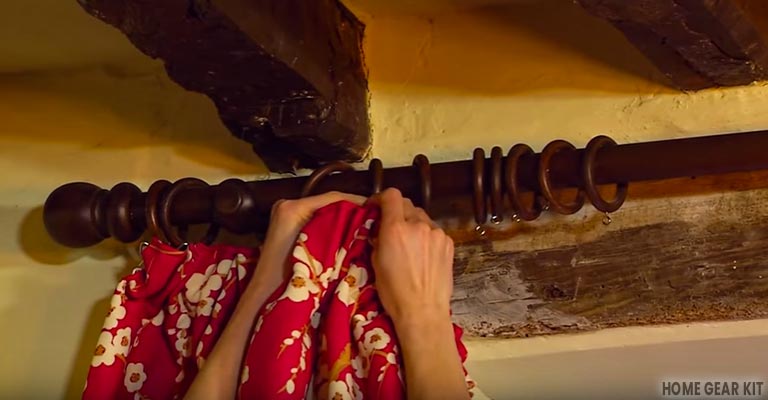
Step6:
Now hang the curtain in the window rod.
Making thermal curtains at home is very easy and fun to do. I hope you will enjoy making it.
Thermal curtains are a very good method of keeping your room well insulated. Having proper ingredients right by your side, you can easily make them.