Faucet manufacturers always try to make their faucet attractive while still making it do its job of supplying water. As the sanitary ware business has grown tremendously, the competition between these companies has led to some of the best looking and baffling faucet designs.
Being the highly debatable topic it is, Grohe is undoubtedly one of the best faucet manufacturers, if not THE best. With that being said, the sleek and stunning design requires tricky engineering for fitting the parts inside it. Today, we will guide you into taking apart a regular Grohe bathroom faucet and see what’s inside.
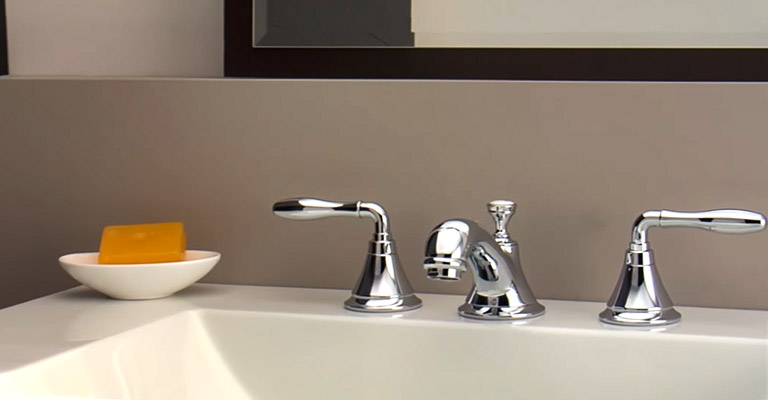
Table of Contents
How to Remove Handles From Grohe Sink Faucets
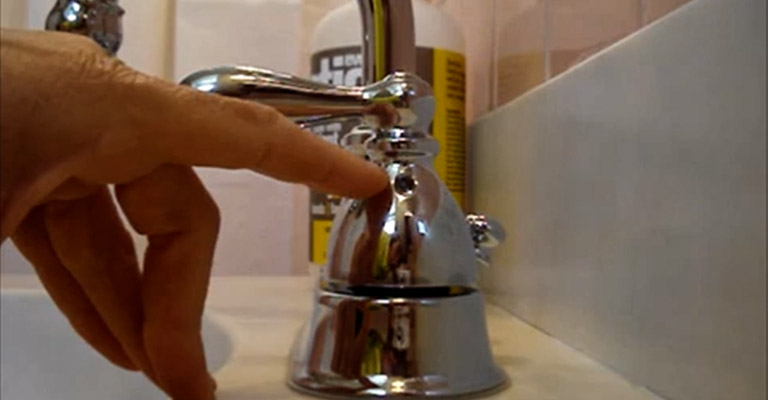
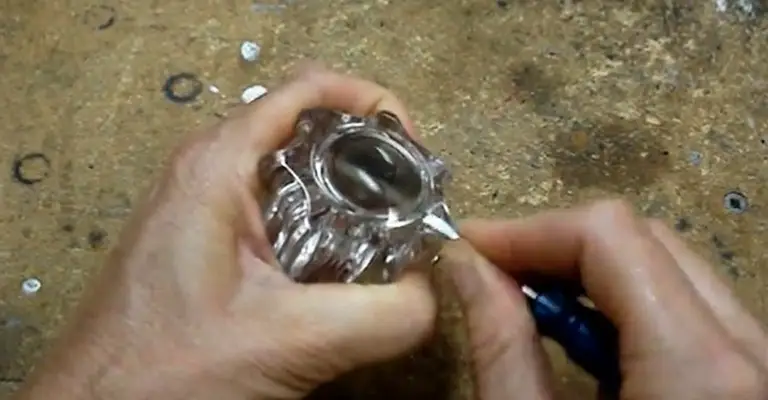
Identify the small pore somewhere on the handle. It is covered by a paper that is of a slightly different color than the metal handle. Pinch the paper using anything small and sharp and remove it to expose the nut hole. Using a hex key ( Allen key ), remove the nut inside of that hole. Then, apply pressure and pull the handle up to take it off.
How to Take Apart a Grohe Bathroom Faucet | Made Easy
Taking apart a Grohe bathroom faucet is easy. You just need the right tools to start working with and know where to use them. Luckily for you, we’ve already done that and will now demonstrate the whole process. The tools you’ll need for this are:
- 3MM Allen Key
- 32MM Box Spanner
- Screwdriver
Stop the Water Supply
If you are dismantling the faucet which is currently in action, then you should probably stop the water supply to your faucet first. After shutting off the water supply, make sure to empty the faucet by turning it on like in for regular use.
Remove the Handle
Puncture the tiny paper or plastic covering near the front side of the handle with a screwdriver. Then put the Allen key inside of it and rotate counterclockwise to loosen the screw inside of it. After a bit, pull the handle up and it should come off without any resistance.
Remove the Cap and the Cartridge
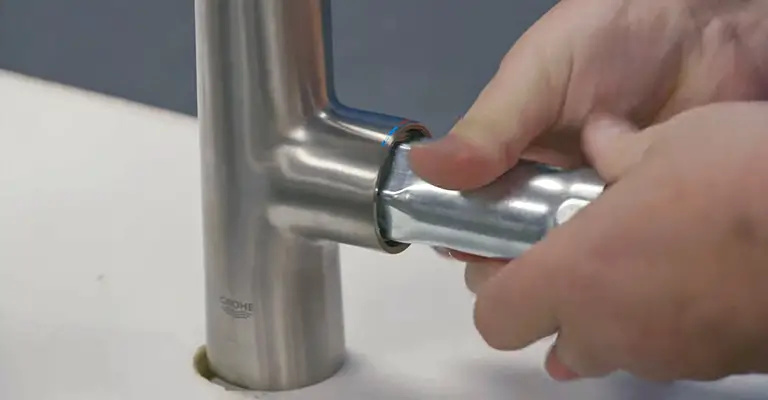
After removing the handle, remove any cap that sits on the base of the handle when it was on the faucet. There aren’t any screws attached to it, so use your hand or a screwdriver to pull it up.
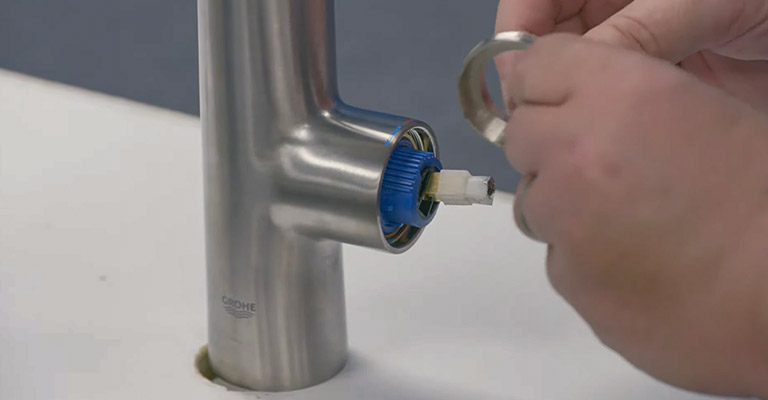
Use the 32MM box spanner to unscrew the large nut near the cap. It holds the cartridge in place. Then, pull the cartridge towards yourself, firmly, to take it off. And with this, you’ve pretty much taken apart a Grohe bathroom faucet. You can remove the flow restrictor in the midst, by the way.
How Do You Fix a Leaky Grohe Faucet?
A leaky faucet is caused by a faulty cartridge. So all you need to do to fix a leaky Grohe faucet is to replace the cartridge. Follow our previous instruction of taking the faucet apart. When you pull out the cartridge, make sure you have a new one ready at your disposal.
Put the cartridge inside of your faucet, right where you took it out from. Then, screw the cartridge in place with the large screw that you just took off using the 32MM box spanner. Put on the cap and then attach the handle. Screw the handle tightly to its place using the same Allen Key as before and you’re all done.
Grohe Bathroom Faucet Repairing Procedure
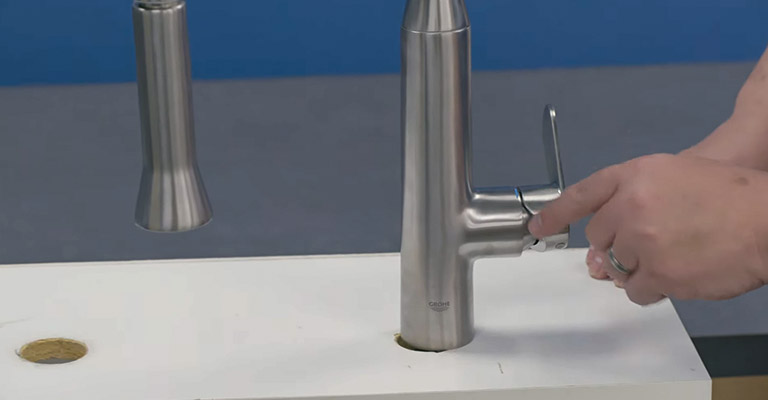
If you have a leaky faucet, then its repairing procedure is the same as the previous section where you just need to replace the cartridge. Most of the repair needed for a faucet is of the cartridge. Apart from that if you have a faulty handle, just buy a new one and install it.
Grohe Bathroom Faucet Installation Steps
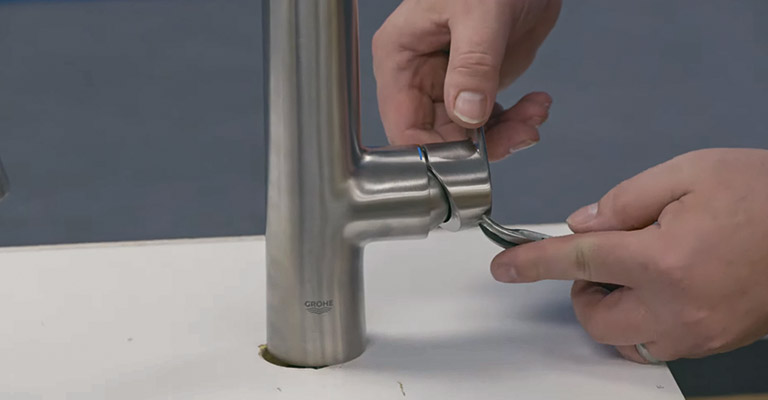
The installation process is the exact opposite of taking it apart. In fact, out of the box, you don’t have to assemble the parts. They are already assembled for you. You just need to cut off the water supply, connect the drainage pipe, and screw the faucet in its place. Then connect the pipe with it and then resume the water supply.
Types of Grohe bathroom faucets
Grohe Bathroom Faucets include a variety of faucet designs and functions, so there is always something for everyone to buy. You will find a range of single-hole, single-handle, double-handle, widespread, centerset, and other faucet types. The brand also has luxurious collections to inspire your next bathroom remodel – and these include the Atrio, Eurocube, Plus, Essence, Lineare, and Allure Brilliant collections among several more. Most of these Grohe bathroom faucets have features like the WaterSense® program for reduced water consumption and GROHE ECOJOY® for better sustainability. These faucets easily check the boxes for functionality, aesthetics, and water-saving benefits.
You can take apart or install a Grohe bathroom faucet using the steps that we discussed above – they are general steps for removing the parts and taking care of maintenance/replacements. The more technical units might need some more time and effort for DIYers to get the removal and re-assembling correct. Grohe store has all the compatible parts, cartridges, handles, and other hardware available in its catalog, so you can easily look up the required accessories for your specific faucet model. Each product already displays compatible hardware with “Add to Cart” buttons to speed up your search. We also like the fact that Grohe has its own YouTube channel full of installation and removal videos – the perfect archive for DIYers! Apart from these videos, you can always download the installation and replacement diagrams available with each faucet description if you want to zoom in on the technical details. Here are some popular Grohe bathroom faucets with basic ways for taking apart certain components based on customer FAQs – and this is just a glimpse into the vast Grohe collections!
ATRIO® NEW 8-INCH WIDESPREAD 2-HANDLE M-SIZE BATHROOM FAUCET 1.2 GPM
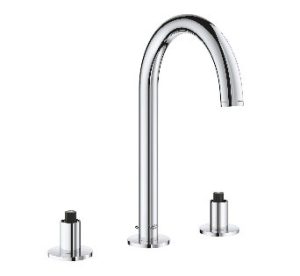
This is a widespread 2-handle faucet design from the Atrio collection, and it comes with the GROHE SilkMove ceramic cartridge. It includes Grohe’s water-saving features as well. If you want to remove the lever handle, you will have to thread off the handle’s cap and reach the screw underneath. Removing this should detach the lever handle easily.
ALLURE BRILLIANT SINGLE HOLE SINGLE-HANDLE M-SIZE BATHROOM FAUCET 1.2 GPM
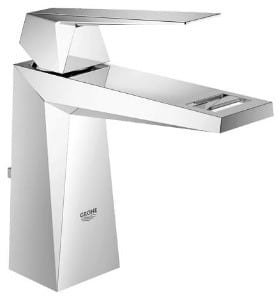
Allure Brilliant’s single-hole, single-handle faucet uses a ceramic cartridge for precise water control and also has Grohe’s water-saving technologies. The finish is resistant to dirt, rust, and scratches. You can install this faucet easily as it has fewer parts for installation and just includes a lever handle. To clean the inner screen and remove buildups, you can first pop off the cover plate with a screwdriver and reach the screw underneath with a 2.5 MM Allen wrench. With the flow control now removed, you can clean the screen easily and re-install it.
ALLURE 8-INCH WIDESPREAD 2-HANDLE M-SIZE BATHROOM FAUCET 1.2 GPM
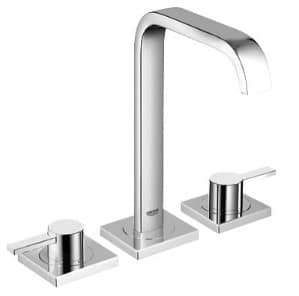
This is a widespread bathroom faucet from Grohe’s Allure collection, with a GROHE SilkMove ceramic cartridge installation. It uses 2 lever handles and can be more time-consuming to install and remove, especially for DIY users. You might need to make sure that the valves are raised on the countertop for the faucet lever handles to actually fit the right way. The levers lack screws and are designed to simply snap onto the valves, so if the valves are too low, they will not accommodate the handles completely.
GLOUCESTER® 4-INCH CENTERSET 2-HANDLE BATHROOM FAUCET 1.2 GPM
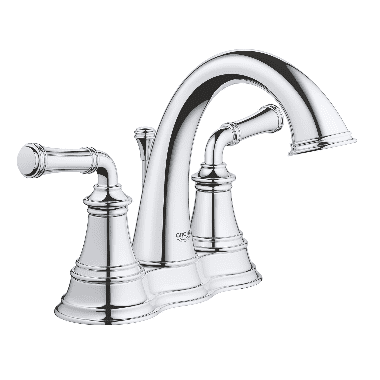
Gloucester collection has a luxurious centerset faucet, and your steps for installing or removing such a unit might differ accordingly. For example, in the case of drips and leaks, you need to remove the handles and access the cartridge by threading off the escutcheon under the handle – which will expose the cartridge. These ceramic cartridges can last for 10-12 years, but they do require cleaning to remove buildups. The centerset faucet also includes an aerator that you can detach by unscrewing it from the faucet spout for cleaning
Tips for the best DIY fixes
Check the cartridge and seal
Most leaks and drips in Grohe faucets are due to a clogged cartridge that needs proper cleaning. Although Grohe cartridges can last for up to 30 years, they do require regular cleaning to remove buildups and clogs. Sometimes, they will need to be entirely replaced with a new cartridge. Single-handle faucets have a single cartridge, whereas double-handle faucets use 2 cartridges. Leaks and drips from the faucet handle may also arise due to damaged seals around the cartridge. A clogged cartridge will affect the water temperature and flow, causing the water to flow slowly because of the buildup restricting the normal path.
Remove and clean the aerator
Grohe aerators are easy to detach and clean for a better water flow. You will need lock pliers to remove the individual aerator parts – make sure to wrap the faucet with a cloth or tape so that you do not damage the finish. Also, make sure to cover the sink drain with some cloth to prevent small pieces from falling in. As you take apart the aerator components, simply line them up in order on the countertop to aid your memory so that you can reassemble everything without much guesswork. The aerator and its individual parts can be cleaned using some soapy water and rinsed thoroughly with hot water to clear away any deposits. Let all the parts dry up completely before reassembling them. If you are going to install a new aerator, just remove the old one and clean the spout before adding the new aerator.
Preserve the Grohe warranty
If you want to claim the Grohe warranty benefits over the years, there are some things you need to be careful about as a DIYer. Here are some precautions you can take during faucet fixes to make sure that your warranty stays valid. It is recommended to purchase only Grohe cartridges and parts for the right installation, sealing, and product compatibility. This includes any replacement part you might need down the road. All Grohe products can be found in its online catalog, and you can always browse your specific faucet model to view the relevant hardware for buying. By purchasing only Grohe faucet parts and accessories, you can claim the warranty service when needed within the valid duration. The warranty will become invalid if the faucets or their parts have been installed, repaired, or taken apart carelessly and damaged as a result, so take extra care during your DIY projects!
Damages and fading from harsh cleaning chemicals and improper usage are not covered by the warranty, so make sure to avoid any abrasive materials or strong acidic solvents – like vinegar and limescale removers. Grohe faucets and parts only need mild soapy water for gentle cleaning and maintenance purposes using a moist cloth. You can also use the brand’s environmentally-friendly cleaning solution – GrohClean – for tackling lime deposits, as this liquid is perfect for gentle cleaning needed by Grohe faucets and fixtures.
Frequently Asked Questions
Q: Do I need to replace the whole faucet if it’s leaking?
Ans: No. Most of the time, a leaking faucet is caused by the cartridge. So, buy a new one and install it. The leak should be gone. If it doesn’t consult a plumber for a deeper check.
Q: I’m not getting hot water from my faucet anymore. What should I do?
Ans: The problem should be with your geyser and not with your faucet. But if you want you can check the cartridge for any issues.
Conclusion
Not knowing how to dismantle a bathroom faucet only adds up to your plumber bill. It is fairly easy and for most of the problems, you can fix it if you know how to take it apart. Don’t overtighten any screws while you do it though.