As a homeowner, having some basic plumbing is a must. Especially you can’t hire a plumber every time you face small problems like drainage issues of your sink. This may include unclogging your sink with or without chemicals or using a saran wrap to unclog. This problem can easily be fixed by learning a few steps about removing the stopper and cleaning it afterward.
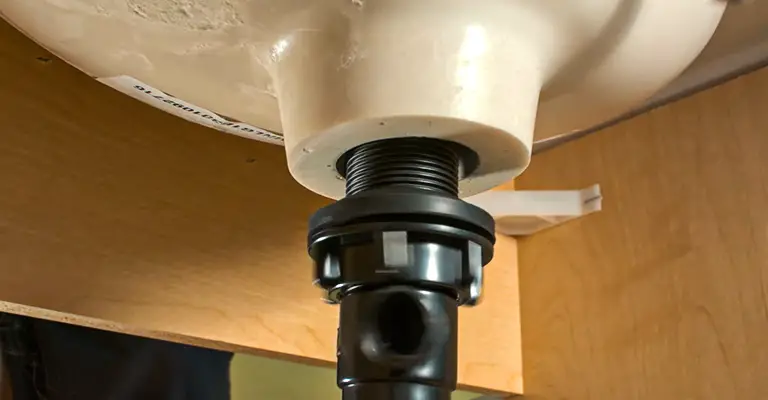
Table of Contents
Step by Step Guide for Removing the Stopper
It’s a relief to have gone through such an extensive step by step guide. You never know where your creativity is going to lead you. During DIY it might not always be pleasant.
Clear Out Your Sink
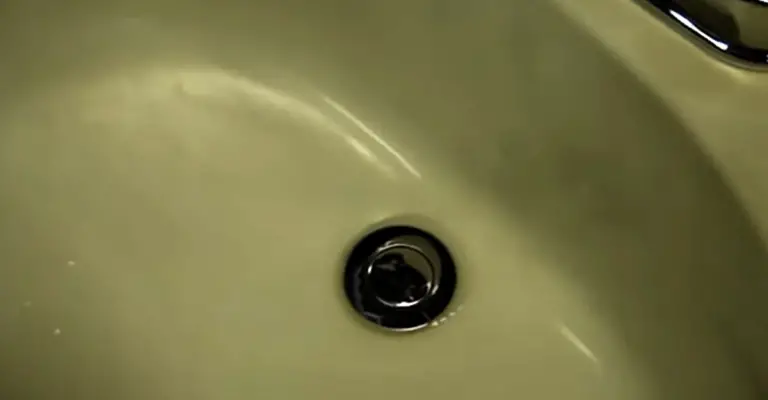
Before starting the process, take everything you’ll need: pliers, a flashlight, pair of gloves, etc. Simultaneously, make sure that you have removed all the items under your sink. Also, turn off the main power supply until you are done with all the process.
Locate the Plunger Rod
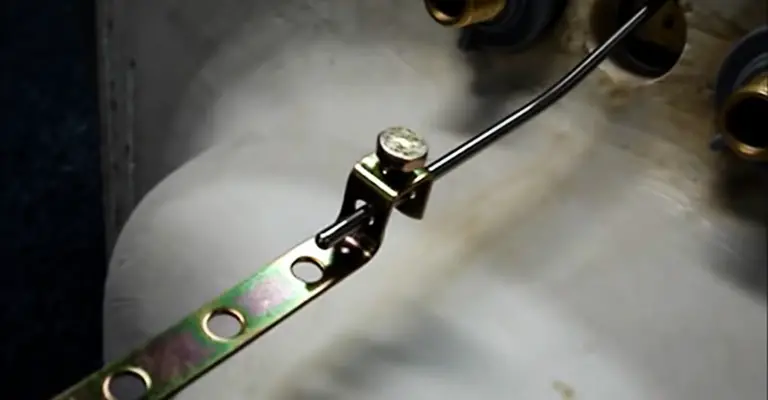
Now, lie on your back down with your head toward the cabinet at the back of the sink. As the place might be a bit dark, take a flashlight with you. After that, locate the plunger rod that is coming down from the back of the bathroom faucet. The faucet is the part that connects the source of water with the basin.
Locate the Clip and Other Rod
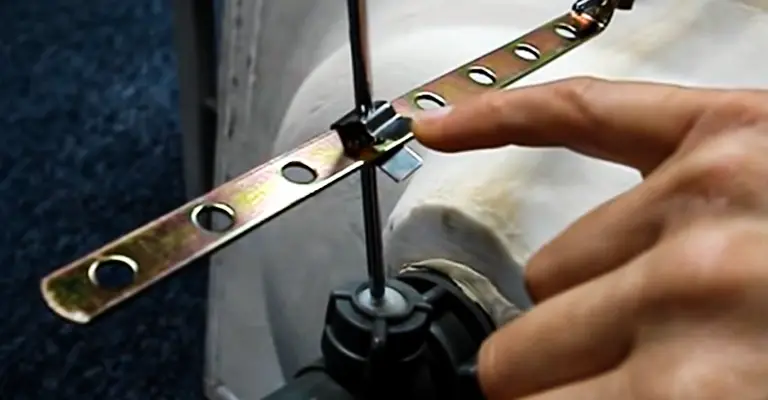
Identify the clip that connects the plunger rod and another rod connected to the sink stopper. The other rod enters the drain pipe under the sink drain towards the sink stopper. However, it reaches just before the ‘p’ trap.
Remove the Nut and Plunger Rod
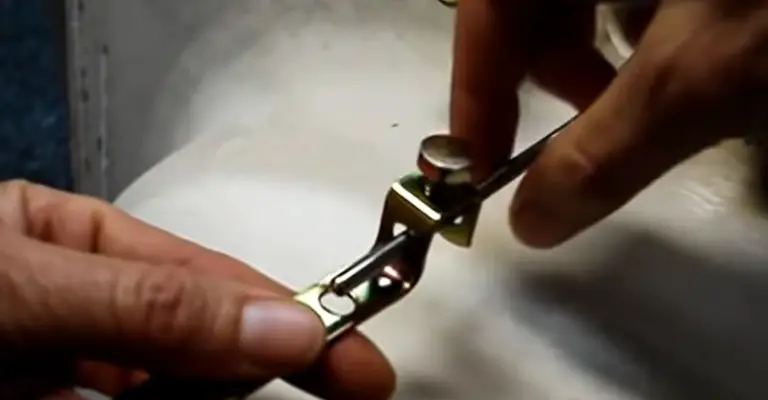
Next, remove the nut located on the sidewall of the drain pipe. Firstly, try to remove it by hand. But if it doesn’t work, you can use pliers to unscrew the nuts. Then you need to push the plunger rod out. For that, simply go back to the clip that has two ends and squeeze it together towards the center.
Pull Out the Other Rod and Stopper
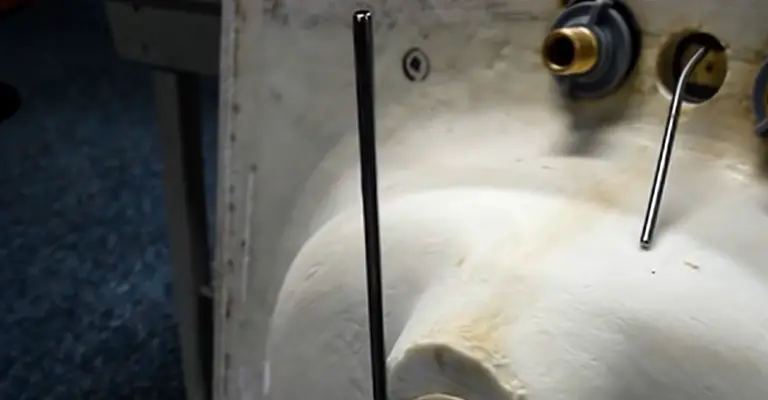
After the plunger rod is removed, the other rod becomes loose and easier to remove from the sink stopper. Take the rod out and set it aside. Lastly, climb under the sink’s basin, remove the stopper. You can either clean it thoroughly or replace it.
Types of bathroom sink stoppers
We discussed the main steps for removing the stopper from a bathroom sink. There are different types of stoppers available, and they generally differ based on design, style, installation, and functionality. Here are 3 common types of bathroom sink stoppers with basic ways to remove them for simple cleaning and replacements.
Lift-and-Turn
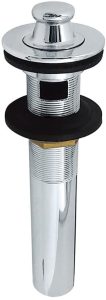
Image source: Kingston Amazon
Lift-and-turn or twist-and-turn stoppers come with a knob on top that you can hold to lift and turn the stopper for removing it. When you lift and turn it, the stopper detaches. Likewise, when you turn it in the opposite direction, it closes back. Such stopper designs lack any complex under-the-sink installations, so they are very easy to use, remove, and replace. Depending on the design, you might need to first unscrew the knob, remove the screw inside, and then remove the stopper. You might also need a wrench to twist the stopper base and allow the stopper to detach easily. So, it all depends on the kind of stopper design you have. Make sure to follow the correct way to remove and replace the stopper so that it does not get damaged in the process.
Push-Button
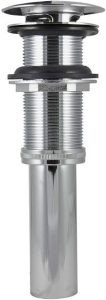
Image source: Danco Amazon
Push-button bathroom sink stoppers often lack rods or connectors in their setup. When pushed down, the stopper both clicks in place and gets released depending on whether you are removing or replacing it back. So, the downward mechanism is what operates these stoppers, and this type of design is one of the new or modern options for bathroom sink stoppers. It is simple and easy to install just like the lift-and-turn category, so people who do not want much to do with under-the-sink installations can buy them.
Pop-Up

Image source: Danco Amazon
Pop-up stoppers have a more detailed assembly and include under-the-sink components for installation. When you pull or push the lift rod handle, it, in turn, allows the clevis strap pivot rod to move the stopper accordingly. There are different ways of removing pop-stoppers from bathroom sinks depending on your specific configurations – and it is generally quite simple to remove them. You can either pull the stopper up until it is detached or unscrew both the cap and the base before pulling out the stopper. For designs with rocker-arm installations, you will have to work under the sink – similar to our steps mentioned in this guide. You first need to unscrew the pivot rod arm and detach it along with the connected round plug. Then, you can easily remove the stopper from the sink.
These were 3 of the most common types of bathroom sink stoppers. DIY users mostly prefer designs with simple mechanics, ease of installation, and hassle-free replacements. If you want to stay as far away from complex, under-the-sink parts, you can buy any twist-and-turn stoppers to save time and effort. They work by simply turning them in clockwise or counterclockwise directions for removing or replacing, so nobody needs to reach under the sink to install or remove them. At the very most, a screwdriver will be needed for unscrewing the stopper base underneath the cap. The easier the removal process, the faster you can clean everything – and the quicker the replacements when parts get damaged!
Why Removing the Stopper Will be Useful?
Due to a lot of dirt, hair, or debris, the sink can be clogged or drains down the water slowly. Hence to remove hair or debris around the drain opening or install a drain hair catcher and deep cleaning, removing the stopper is necessary. Moreover, worn-out stoppers can’t function properly and require immediate replacement.
Tips and tools for thorough cleaning
Now that you have the stopper removed, it is time for some thorough cleaning before reassembling everything. As we said earlier, removing the stopper is important for addressing clogs and similar issues. Sometimes the stopper and any under-the-sink components can get rusted and damaged – in which case, you might have to replace them entirely with a new unit for better performance and durability. Even if the source of the problem is in the drain itself, you want to make sure that you clean the stopper and any other detached components for maximum cleanliness and better results.
The tools required are simple and readily available, except for when you might have to purchase cleaning kits to address other issues. In general, you will need:
- a pair of gloves
- a brush or a toothbrush to clean the stopper
- a hair clog removal kit with a hooked tool
- a cloth or towel
- cleaning agents such as vinegar, baking soda, drain cleaner, detergent powder, etc.
Always wear gloves for safety and hygiene! Depending on how tough the clog is, you can use your preferred cleaning agent to clear away drain clogs. A hooked hair removal tool is helpful for unclogging trapped hair and debris. It comes with spiky hooks on one end for this job, so if you do not have a cleaning chemical at hand, you can always remove clogged hair first in this way and then run some hot water down the drain to check the results. Detergents, vinegar, and baking soda make great alternatives to chemicals and will help you clean the stopper too before replacing it back. You can soak the stopper and any other parts in a solution of warm water, vinegar, and baking soda. You can also soak them in some warm water and detergent. Soaking in such solutions for some time will speed up the cleaning process and help you brush the stopper faster to remove dirt.
After a final rinse, all the detached parts should be as good as new! Place everything on a cloth until they dry up, and use this time to tackle drain problems if any. Heavy clogs might require special drain cleaning solutions, so make sure you read the given instructions and handle everything safely. The solution you pour into the drain will have to stay there for a while and work its magic, after which you can use some running faucet water to wash the drain. If the chemical cleaners have a strong smell, make sure you keep the bathroom window open and turn on the exhaust fan for ideal ventilation.
With the bathroom sink drain and stopper clean and ready to use, you can now reassemble everything – just reverse the steps you followed for stopper removal, and you are good to go!
Conclusion
We hope our comprehensive step-by-step guide has been helpful enough so that you won’t have difficulty following them. It will save both of your time and the cost of hiring a professional.
To avoid any inconveniences, make sure to take a flashlight with you. At the same time, while lying on your back, make sure you are in a comfortable position. Otherwise, you might strain your muscle.
Realted Article: Tips for decorating your bathroom