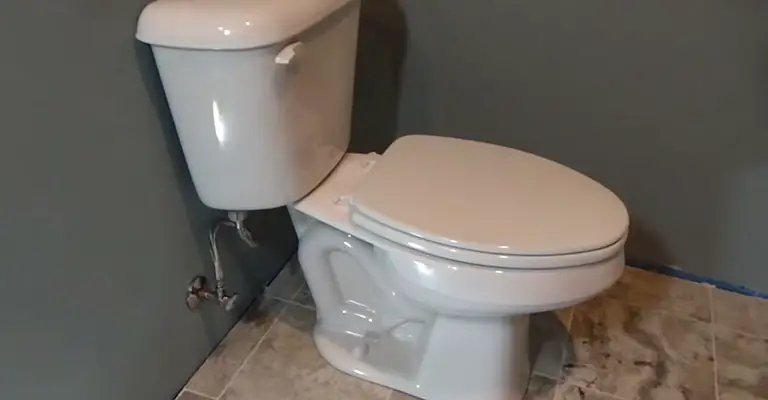
A toilet flange is a circular piece of plastic that connects the lower portion of a toilet to the drainpipe. It is the thing that prevents water, which is drained away from the toilet, from getting thrown back inside the toilet, and ultimately the floor. Without the flange, you would have leaks from your toilet every time you use it.
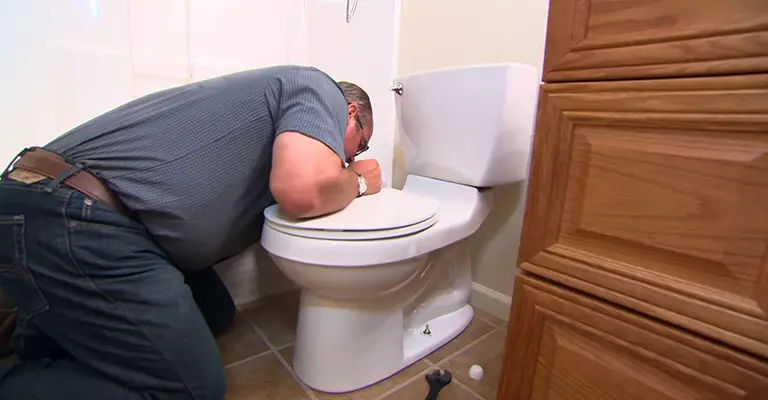
There are differences between replacing the toilet flange in an old toilet and installing it in new construction. But one thing that is common between them is that they are both easy enough for a homeowner to do it themselves and save some extra bucks. We will walk you through the entire process of installing a toilet flange step by step.
Installing a Toilet Flange in New Construction
The good thing about installing a toilet flange in new construction is that you don’t have to remove the toilet or the previously installed flange, nor it depends on the type of toilet seat you use.
However, there are some things that you need to consider before starting the installation process. We covered all those things along with some tips and tricks right below.
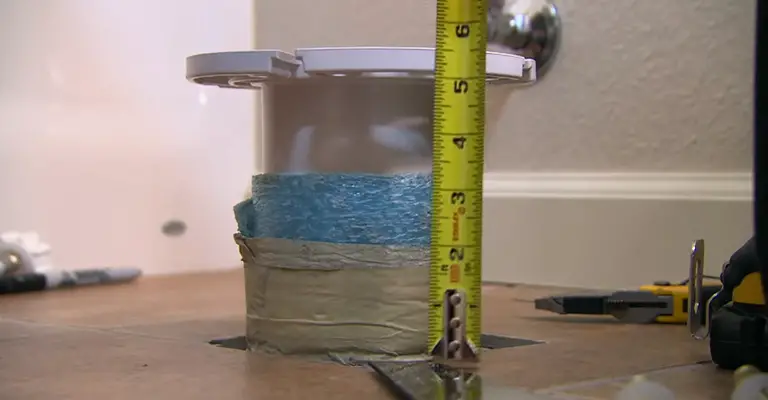
Measure the Drainage Pipe
Use a measuring tape and measure the diameter of the drainpipe that should be already in its place. The most common measurement is the 4inch(10cm) diameter of the drainpipe. This is the only information you’ll need to buy the toilet flange from a hardware store.
Inspect and Adjust the Installation Site
With the correct sized toilet flange, head over near the drainage pipe and see if there is enough space for the flange or not. Almost every home developer company keeps an adequate amount of space around the drainage pipe for toilet installation. Since otherwise fighting against frozen toilet pipe from freezing would get tougher.
However, if you are one of those unlucky ones who don’t have any space already cut around the drainpipe, you should call a plumber to secure that space for you.
You can try to cut the area yourself but we strongly recommend hiring a professional to do it. Because are other issues like heating wires, electrical wires, safety, etc. involved with the cut.

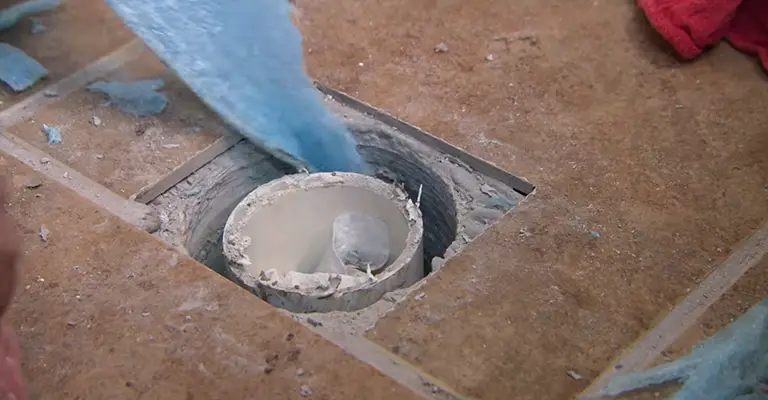
Block the Drainage Pipe Opening
Use a piece of cloth or rag to block the opening of the drainage pipe. This step is a must for replacing toilet flanges because it prevents the bad smell from coming up and also blocks the path for accidentally dropping nuts or bolts.
On new construction, however, you will use the rag for ensuring that you don’t lose any bolts inside the pipe.
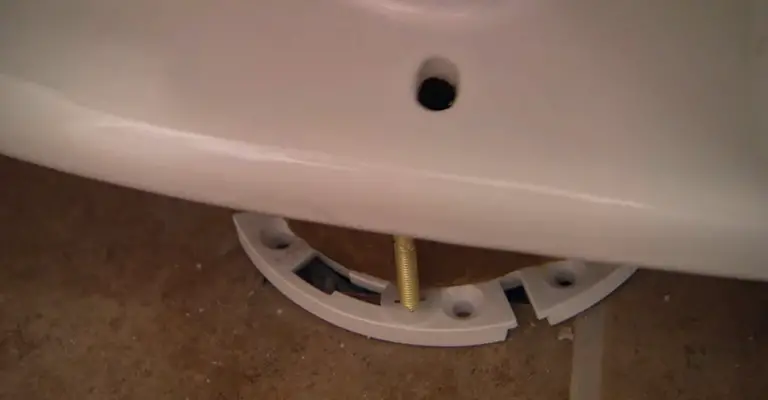
Place the T-bolts and Position the Flange
With the flange placed around the drainage pipe, insert two T-bolt upsides down in such a way that the threaded shafts are facing upwards.
The bolts should not be adjacent to each other. Rather, directly opposite of one another. These T-bolts will hold the toilet tightly with the flange. But for now, these will help you visualize the position of the toilet relative to the wall.
Rotate the toilet flange and try to position the two oppositely faced T-bolts side by side. Then, use a measuring tape to measure the distance of each bolt from the wall. If the distance is the same, then they are parallel to each other and your toilet will be too concerning the wall. If required, dial the flange a little bit to make it parallel.
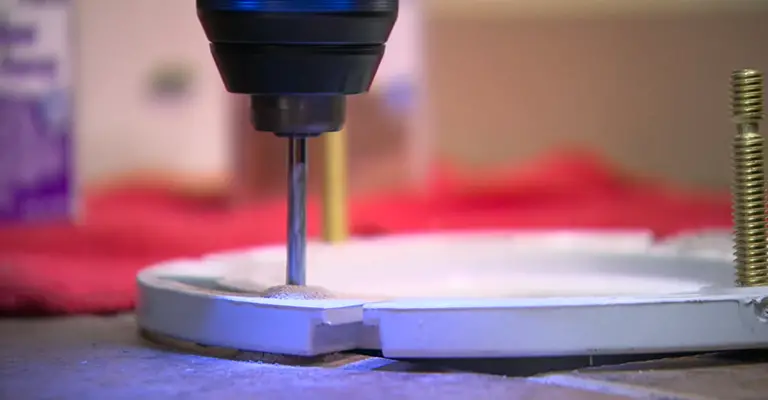
Drill the Holes
If you are drilling into the tile floor, we recommend using carbide-tipped bits like masonry bits. The regular twist-drill bits won’t be enough for penetrating the tiles. Those are good for concrete. For wooden floors, use normal bits. They are not very tough against drills.
An important thing to take care of in this section is not to angle the drill towards the drainage pipe. It will cost you big bucks to repair or may even replace the pipe in the worst-case scenario.
Also, make sure you dip the bit into water frequently after while drilling. Don’t drill at a stretch. But drill adequately deep enough.
Screw the Flange onto the Base
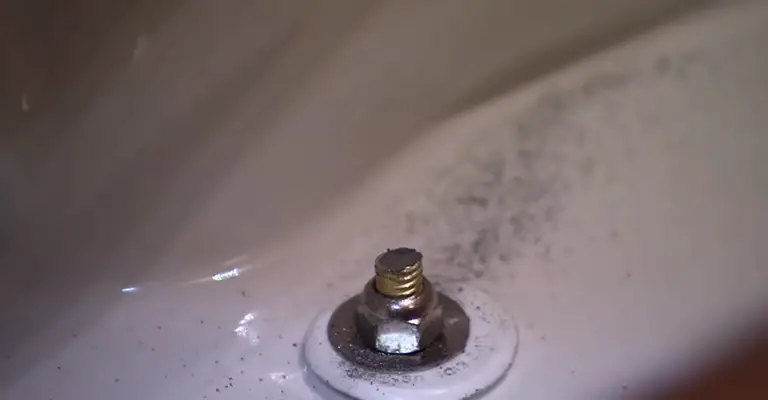
Use masonry screws to tighten the flange with the base. It is ideal to drill about 4 or 6 screws to fasten the flange to the concrete or tile base. If you are using a plastic flange, then take extra care while screwing the flange. Otherwise, you may push it too hard and crack the flange. And that is how you install a toilet flange.
Conclusion
Installing a toilet flange is just putting it in the right place so that the toilet can be attached to it. And you have done just that. Now all that is left to do is put in a wax ring and install the toilet. But that is not for you to worry about. If you have followed everything we told you, then you should have a nicely installed toilet flange by now.